There has been a lot of misinformation about repairing Tesla tires and other EV tires with sound suppression foam. The good news is that like any other tire, sound suppression tires can be repaired. TECH developed a process for repairing sound suppression tires that adheres to the Tire Industry Association (TIA)’s guidelines for proper tire repair. What follows is an overview of the process. For complete details on the process, we invite you to watch our instructional video and download the training manual.
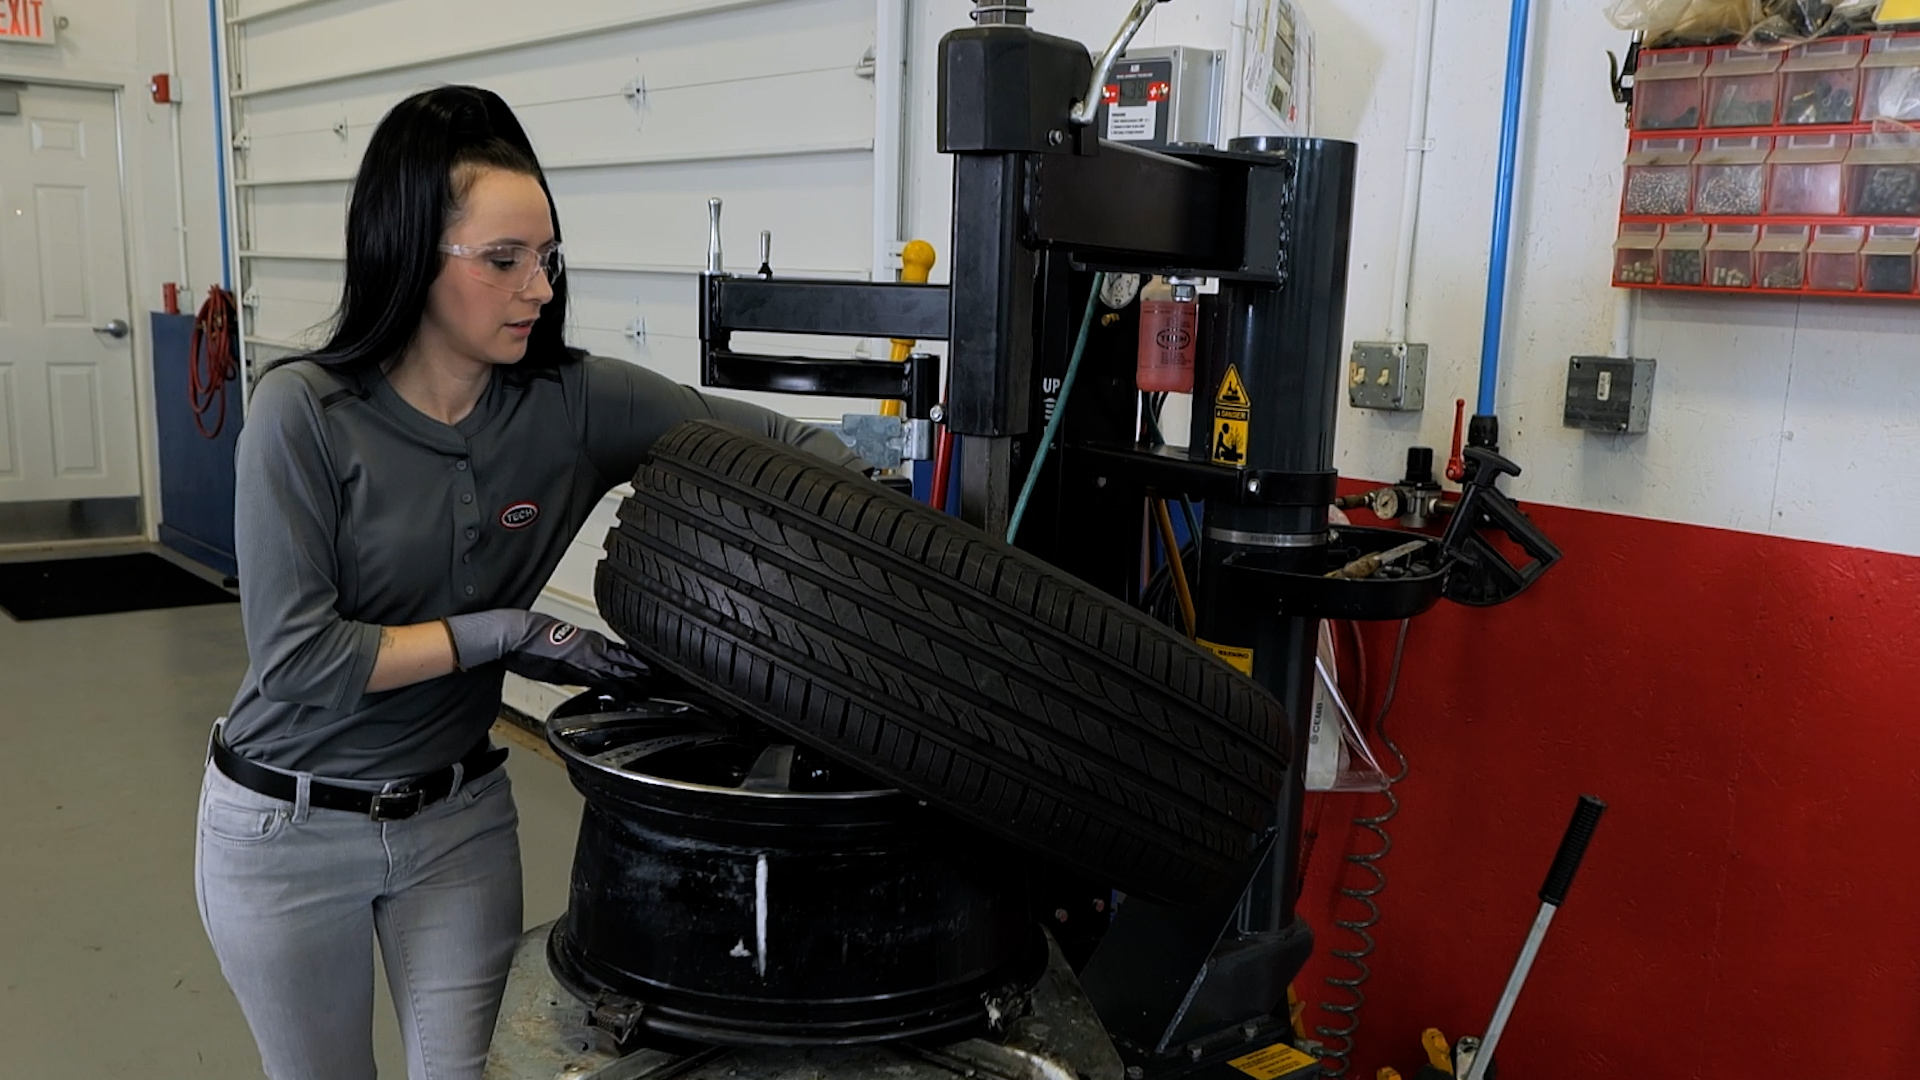
Remove the Tire from the Wheel
We have developed a simple acronym to remember the steps of our proper tire repair process. As you read on, please note the first letter in each step: R.E.P.A.I.R.
Remove the tire from the wheel:
It is important to remove the tire from the wheel to properly inspect the bead, crown and sidewall area from the inside and outside of the tire. As you notice any damage, punctures or injuries, mark them with a tire marker.
Need Your Tire Fixed Fast?
Find A TECH Preferred Shop Near You!
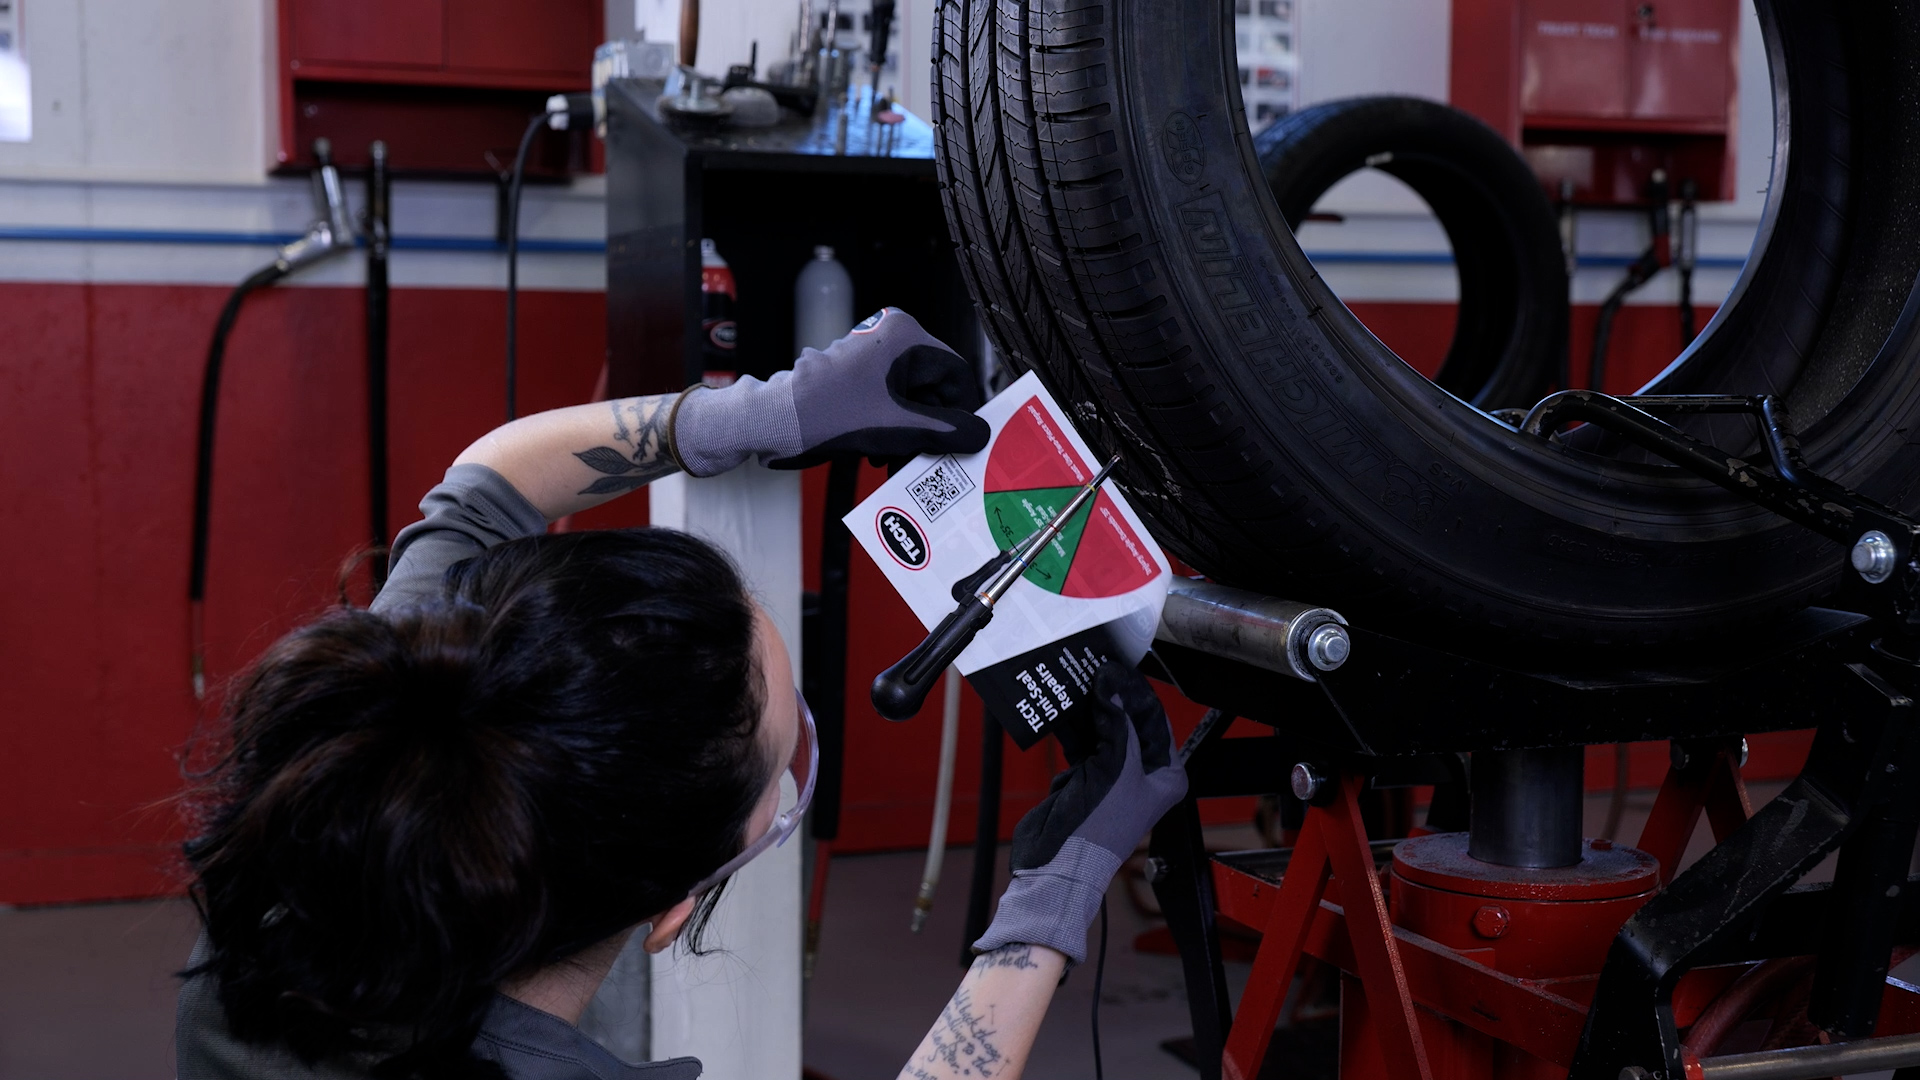
Carefully Measure the Injury Angle
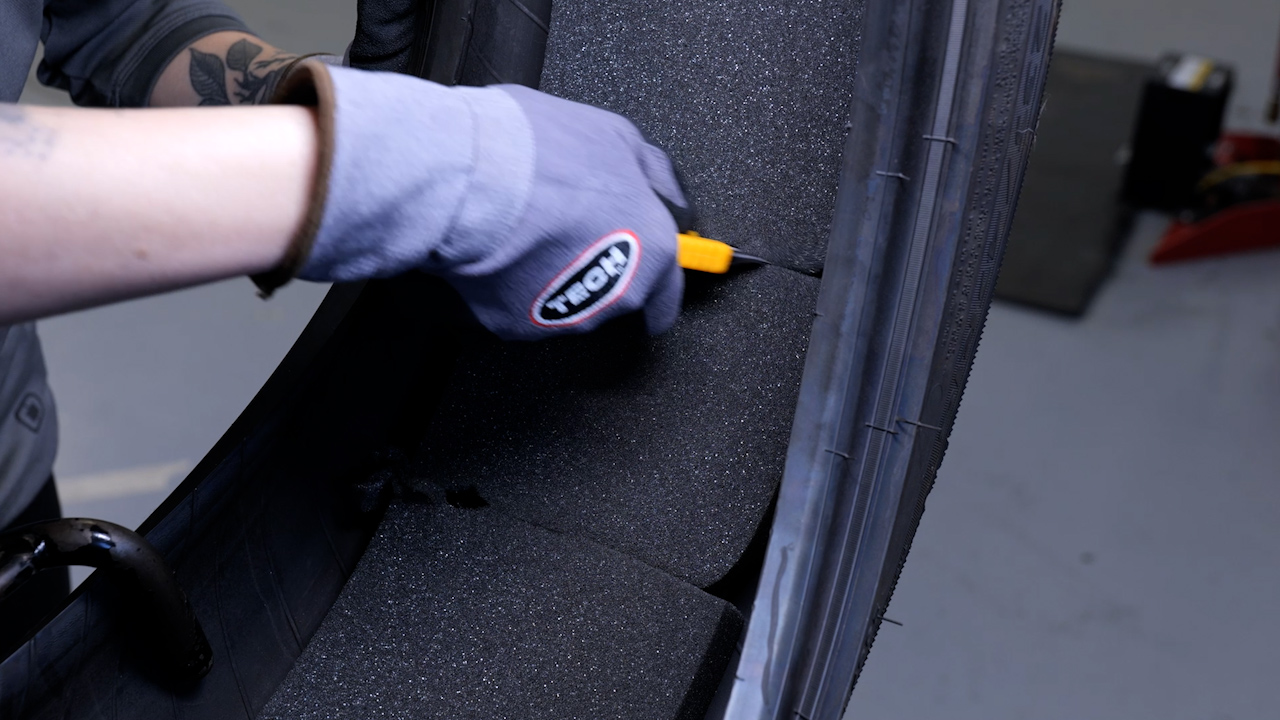
Cut Away a Section of the Foam
Evaluate the injury:
To properly evaluate sound suppression tires, you’ll need to remove a small section of the sound-deadening foam. To do this, simply cut away a section of the foam using a sharp knife and carefully remove it. When inspecting, look for any non-repairable conditions. For more information on non-repairable conditions, click here.
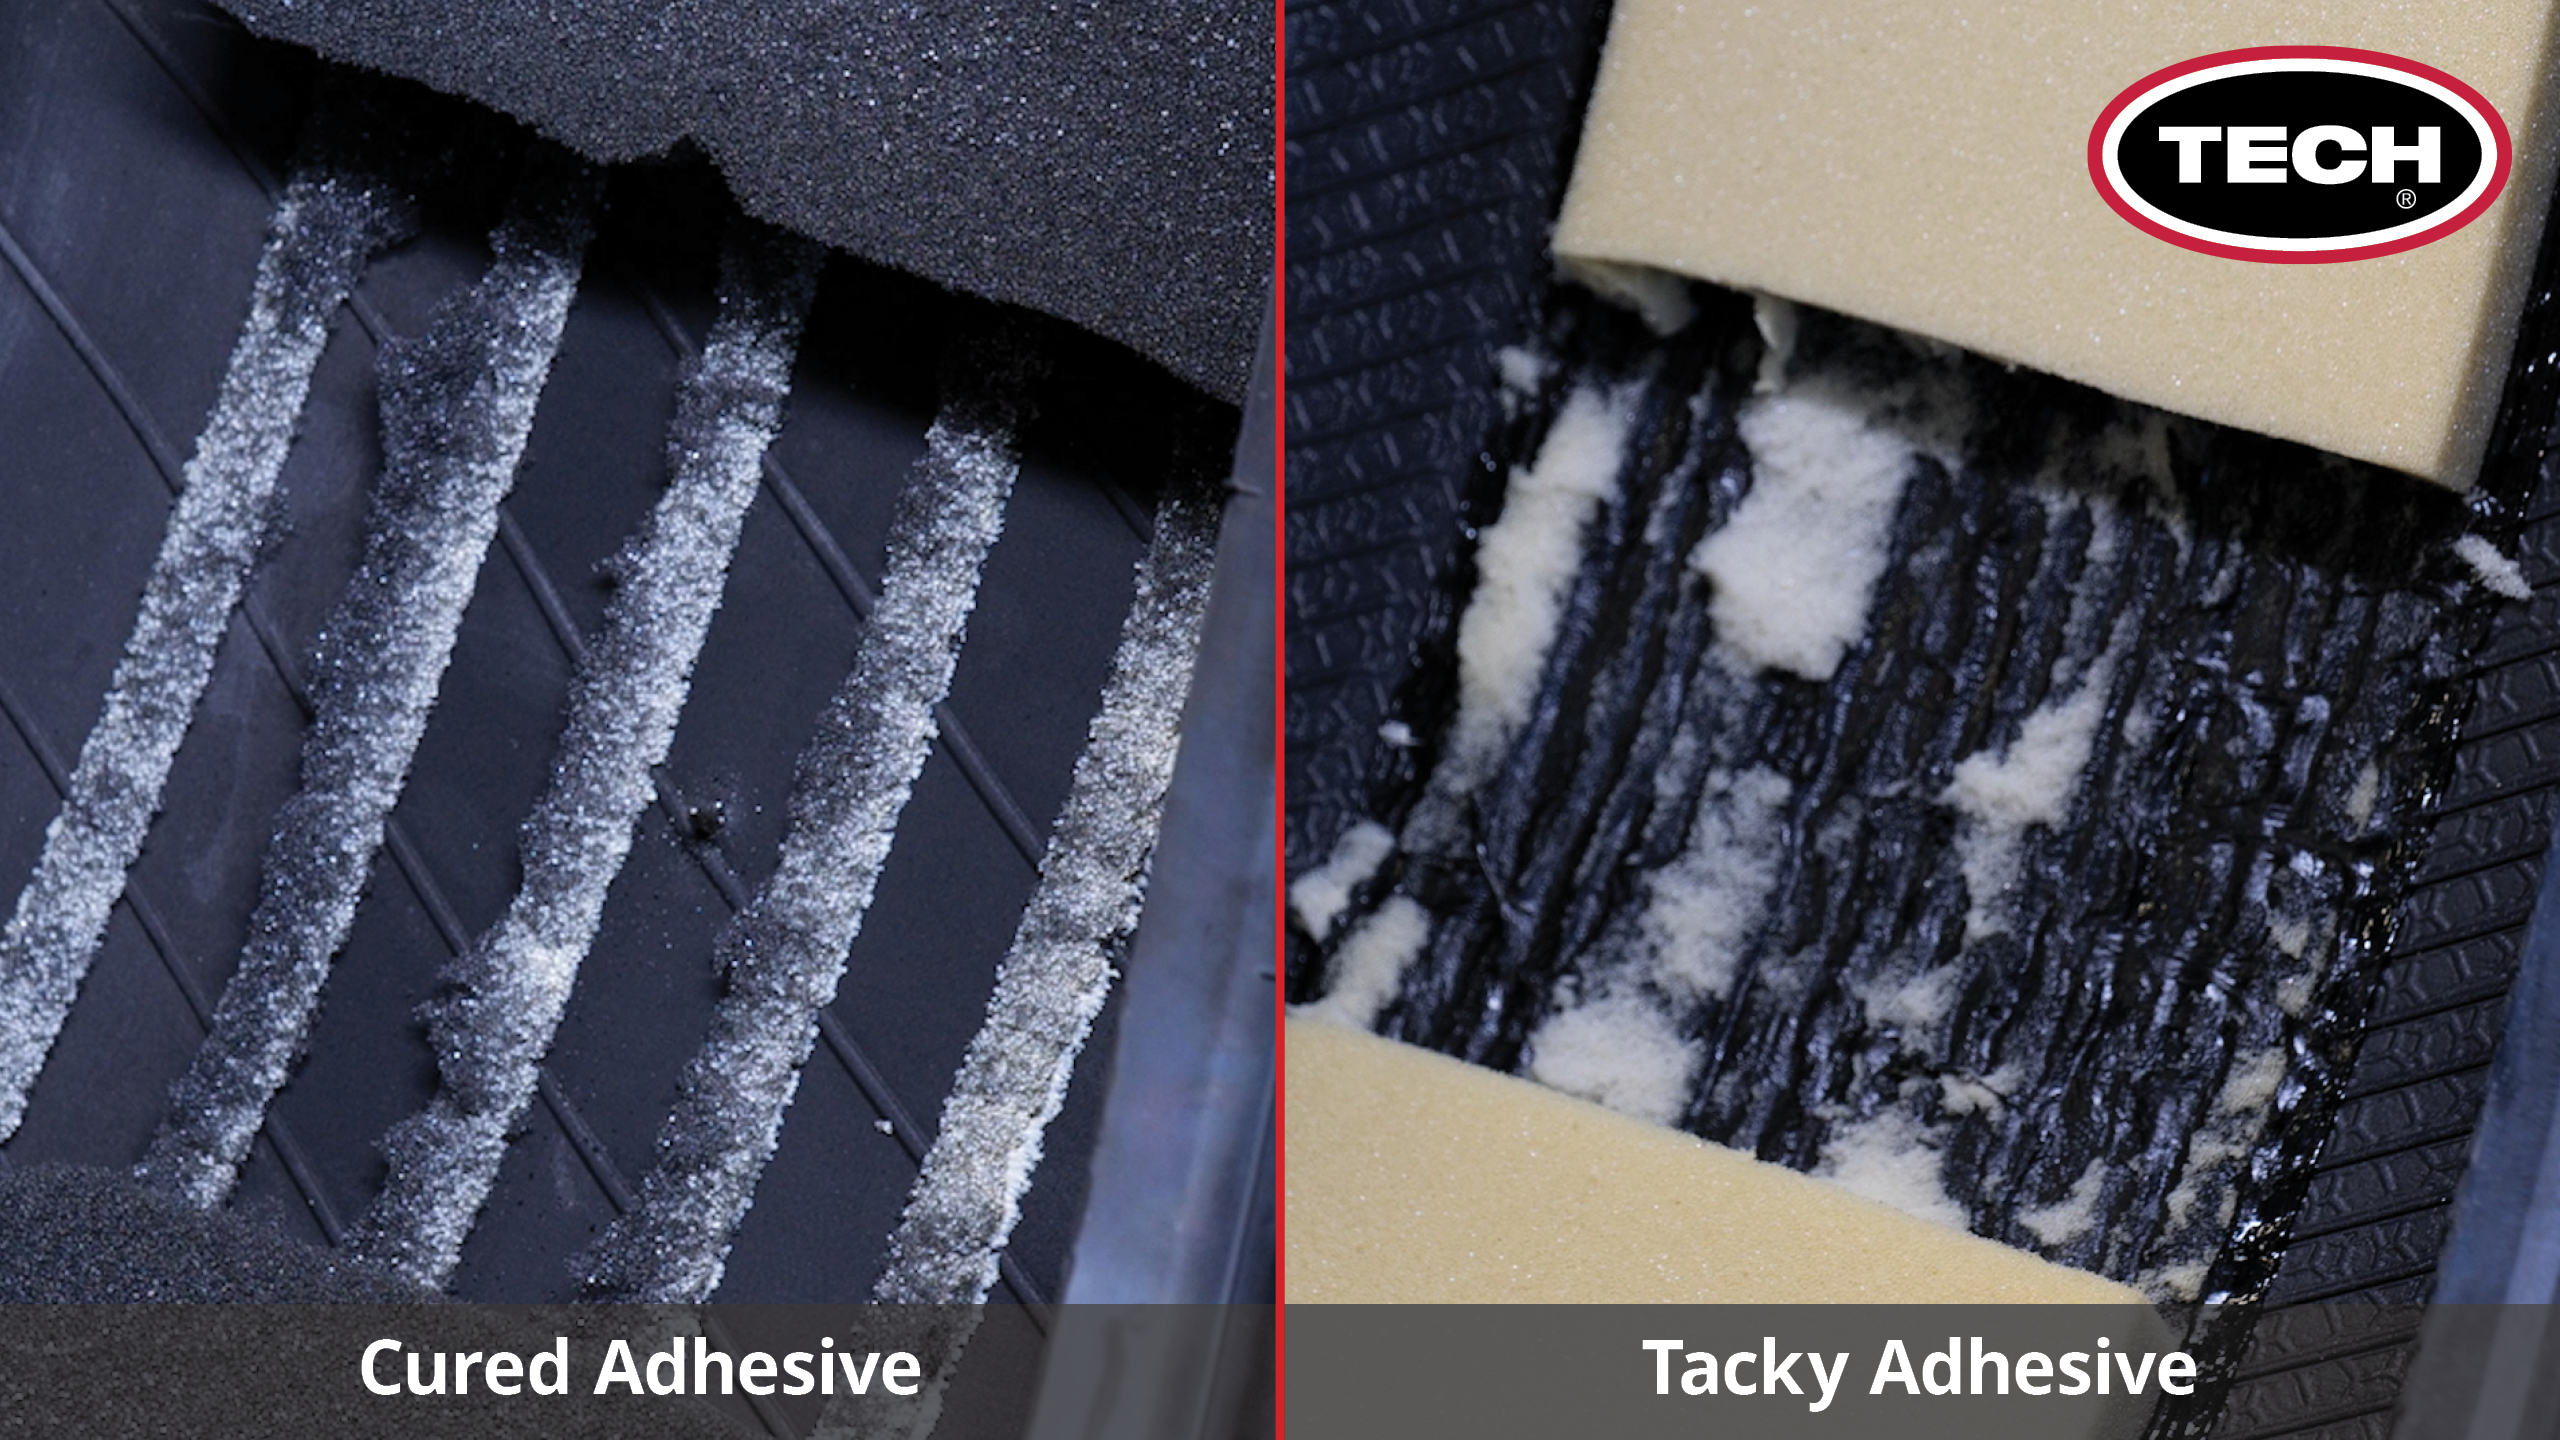
Please note: There are two types of adhesives used to attach sound-deadening foam. Cured and uncured. Cured adhesives will need to be fully removed prior to repair installation. Tacky adhesives may limit you to only be able to perform a one-piece patch/plug repair. Uncured adhesives should not be cleaned or buffed away.
Prepare the injury:
Proper preparation of the injury ensures all damage has been removed and helps create a textured surface that will help maximize adhesion of the patch/plug or two-piece repair. To begin, clean the area with rubber cleaner and a tire scraper.
Next, using a low-speed buffer and buffing wheel, mechanically buff the inner liner of the tire. Use a template or trace an area slightly larger than the repair you’ll be installing. Buff using smooth even strokes to prevent carving grooves in the inner liner.
Then, use a carbide cutter to prepare the puncture. Select the appropriate size for the repair you’ll be installing. Repeat the process 3-5 times from both the inside and outside of the tire.
Finally, brush the area clean using a wire brush and vacuum up all debris.
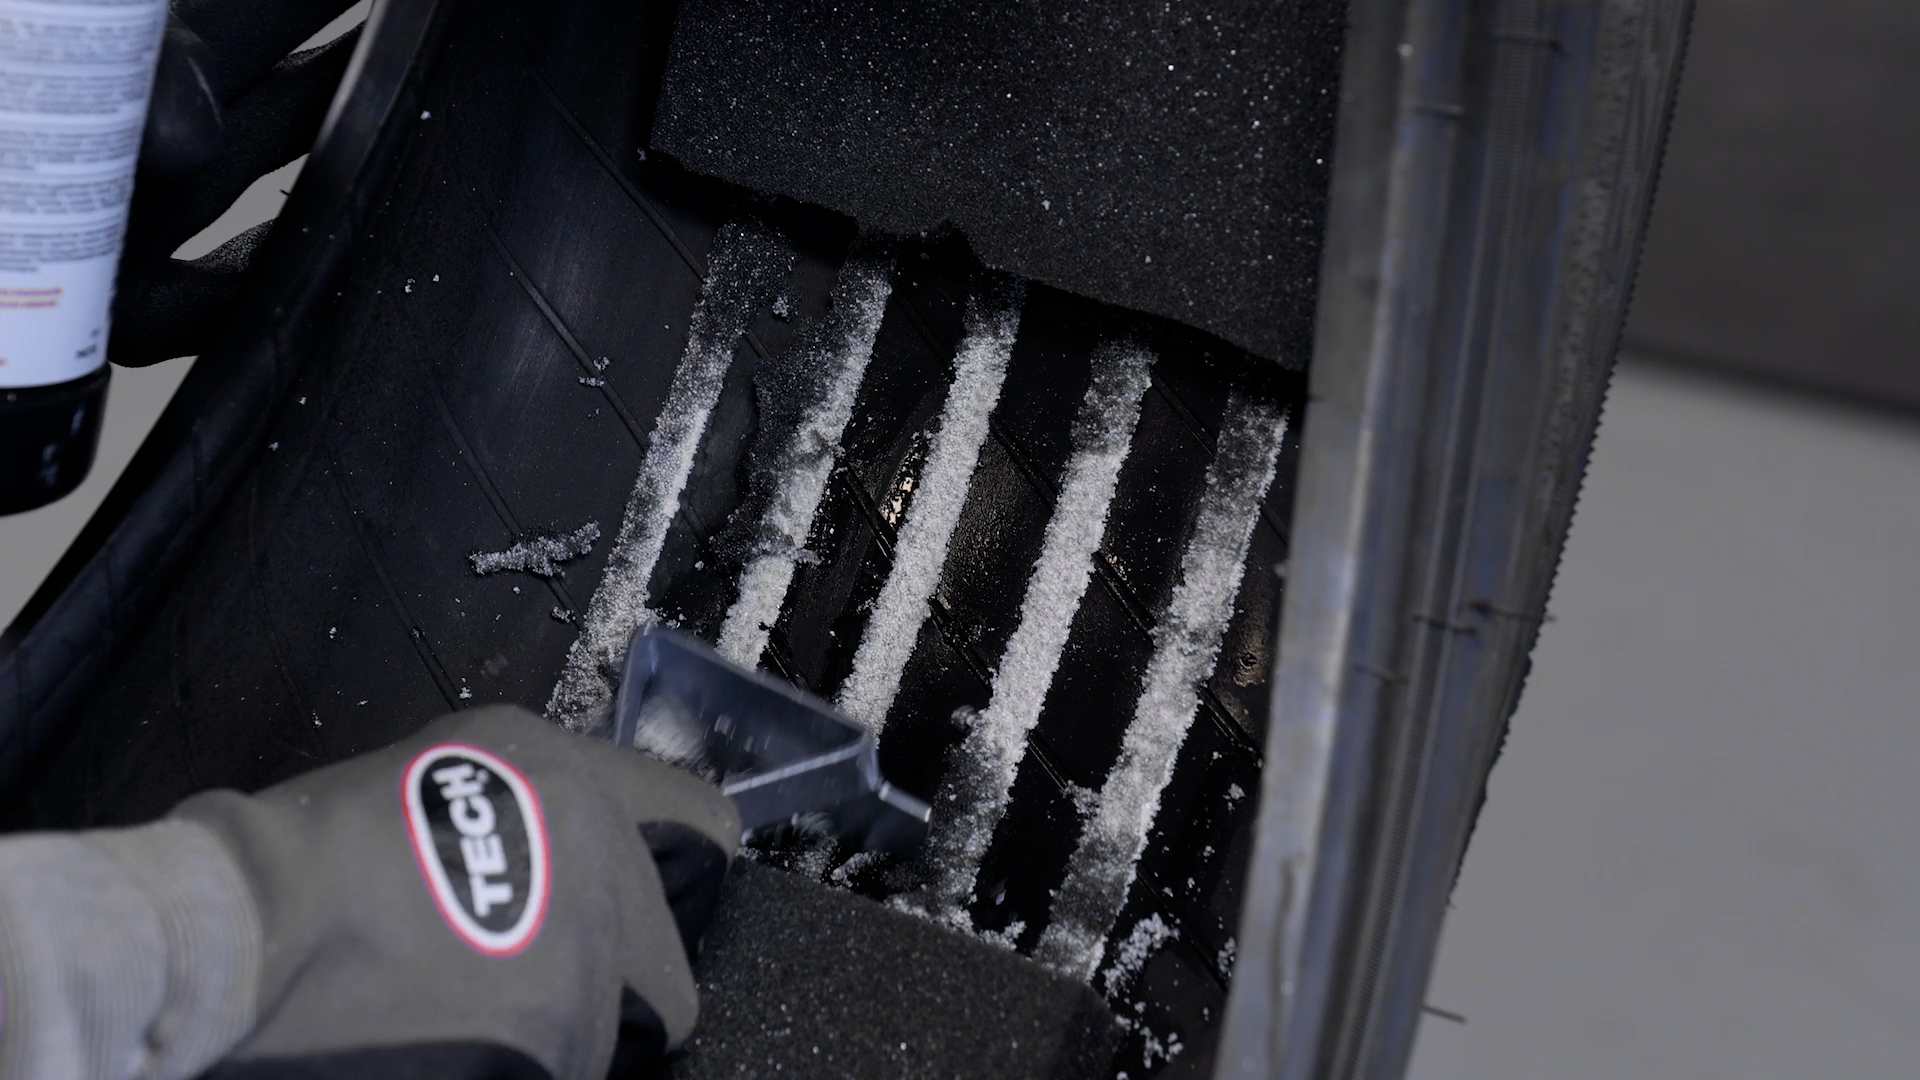
Clean and Scrape the Inner Liner
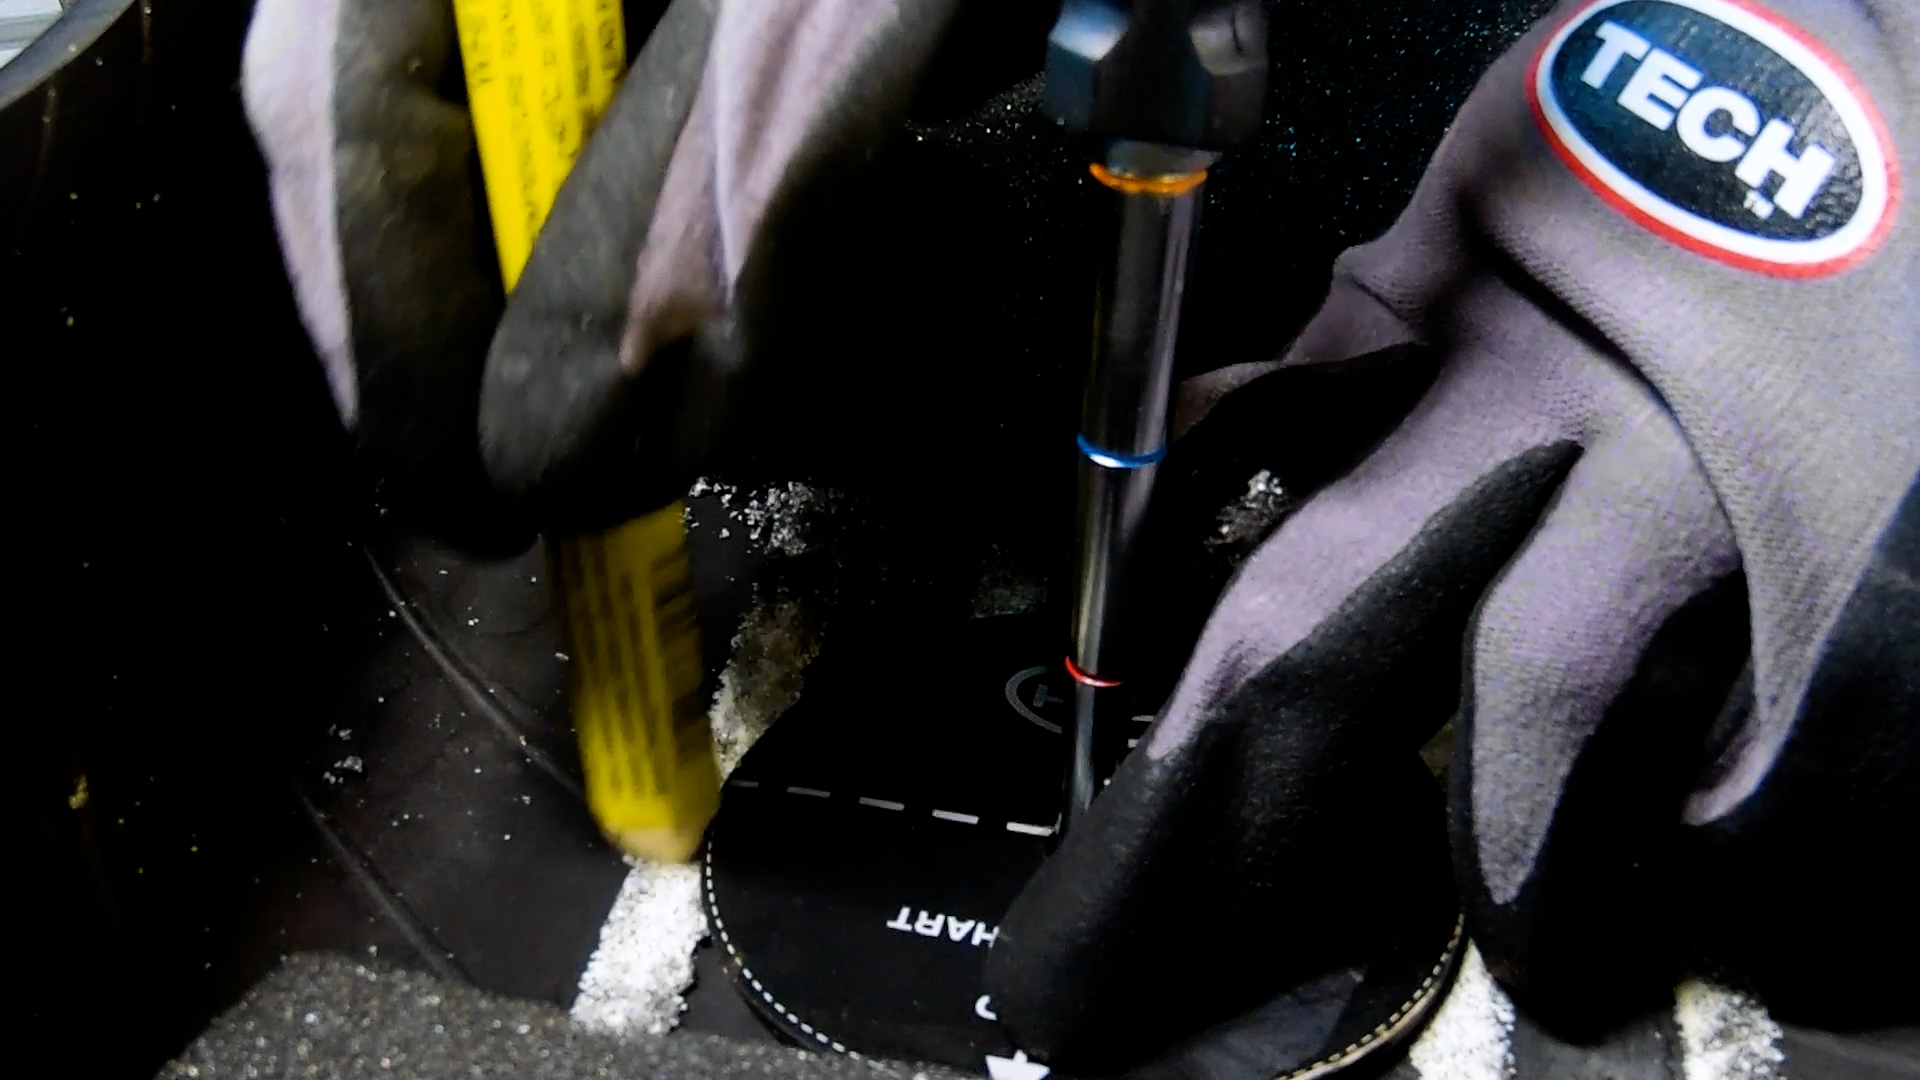
Mark an Area to be Prepped
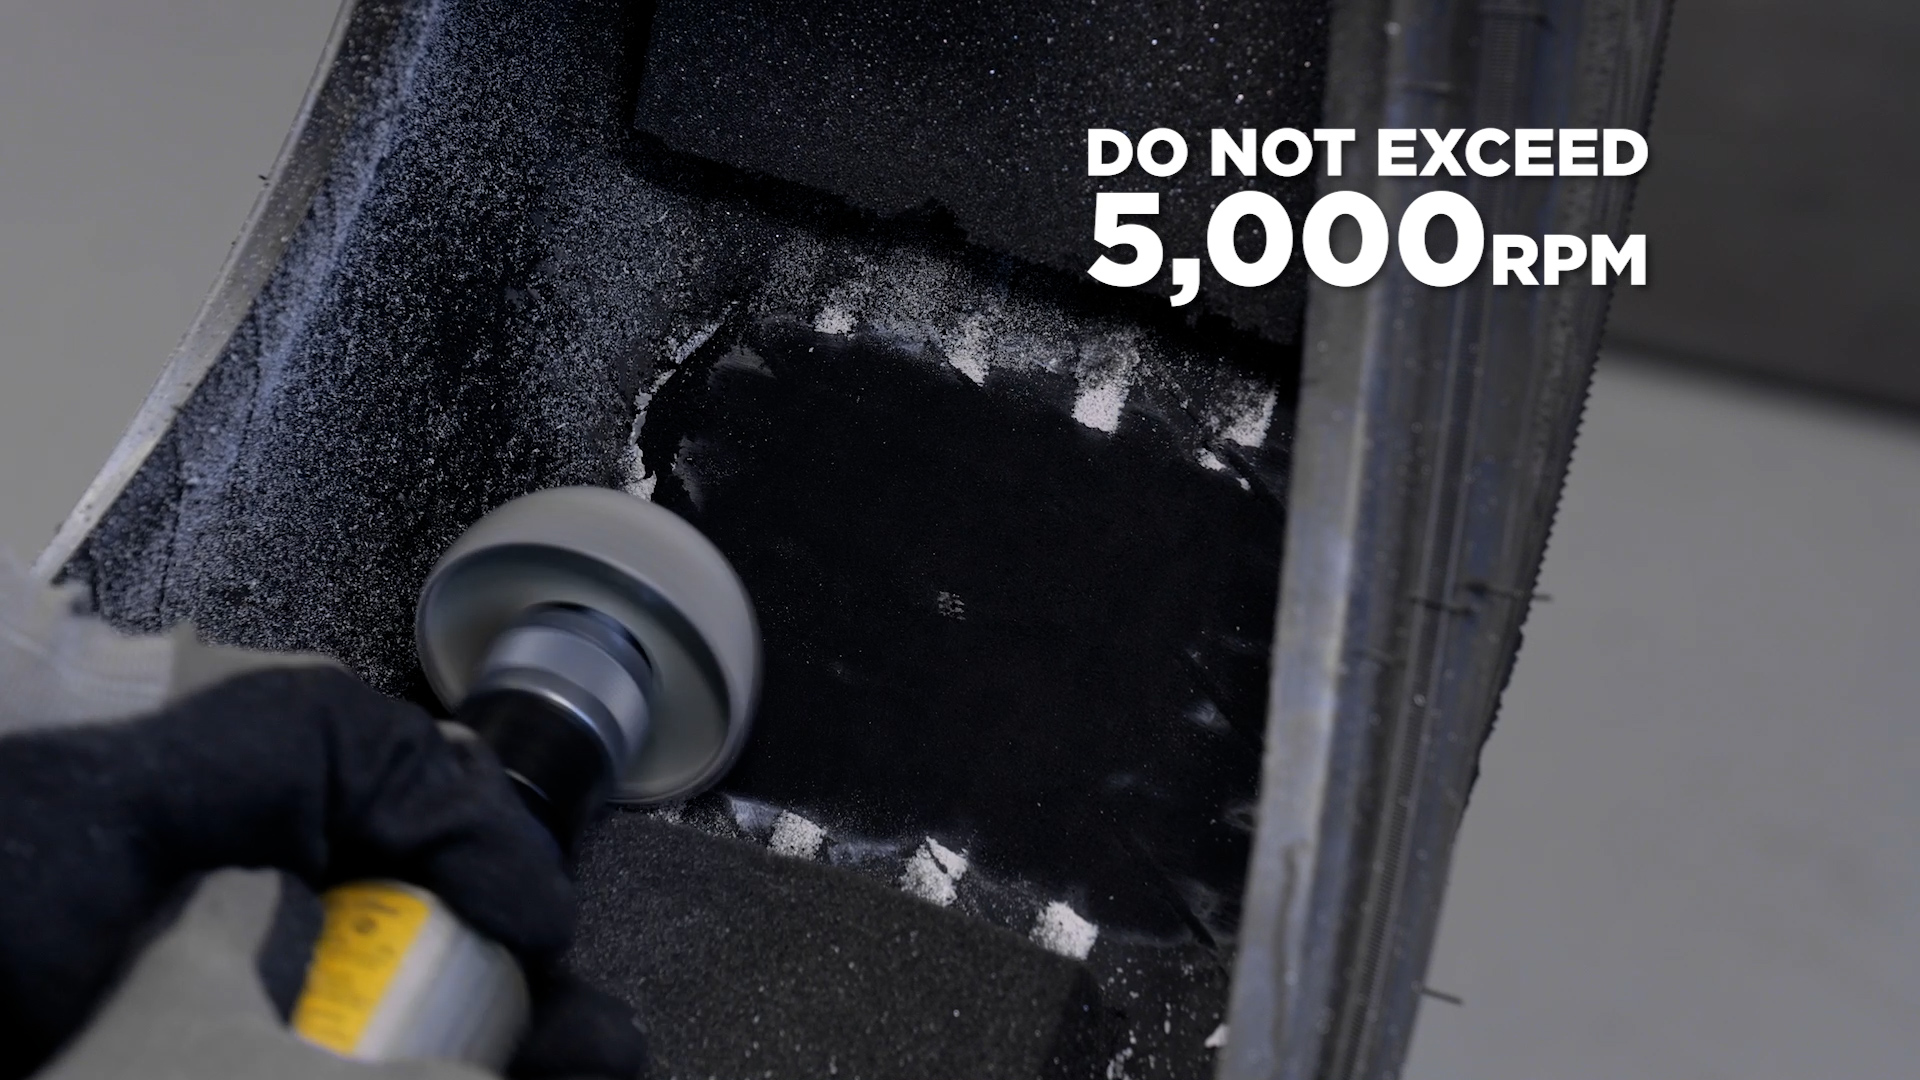
Buff the Area for Maximum Adhesion
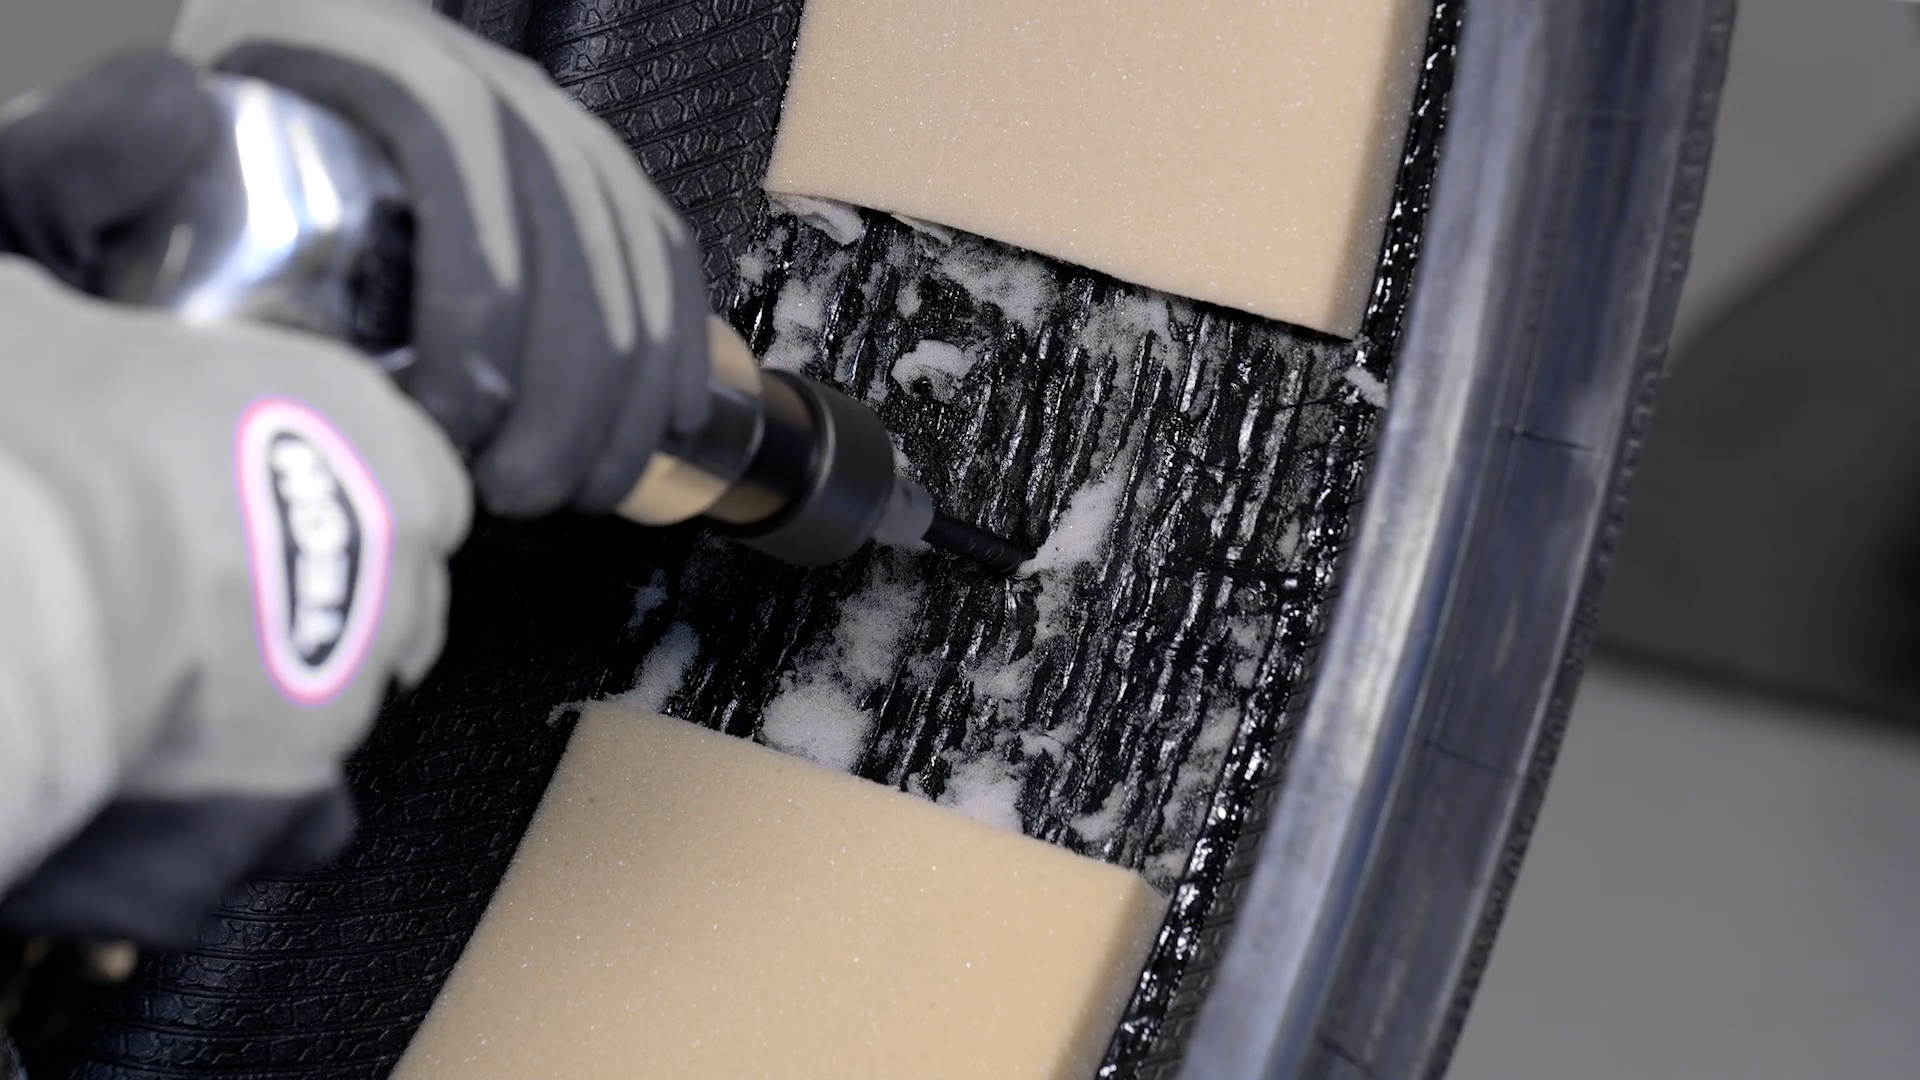
Use Carbide Cutter to Remove Damage
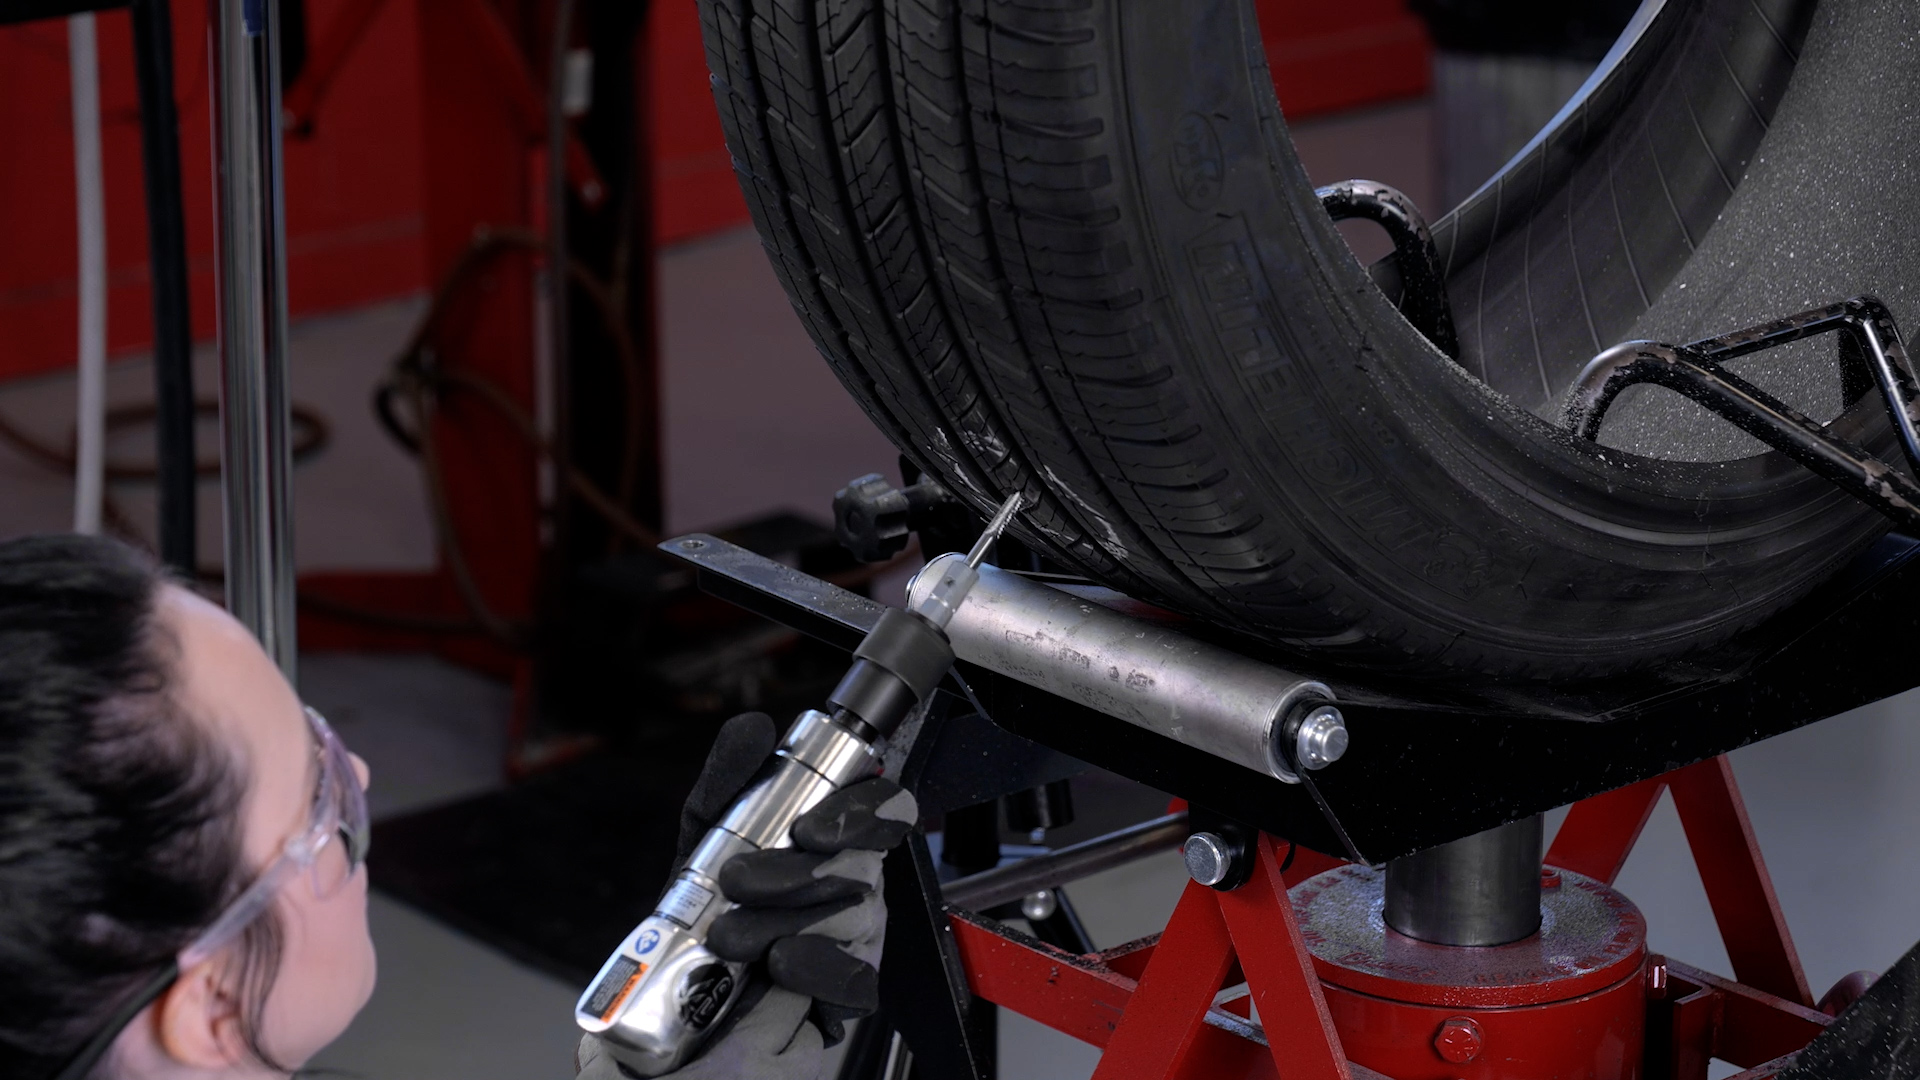
Repeat Cutting From Outside the Tire
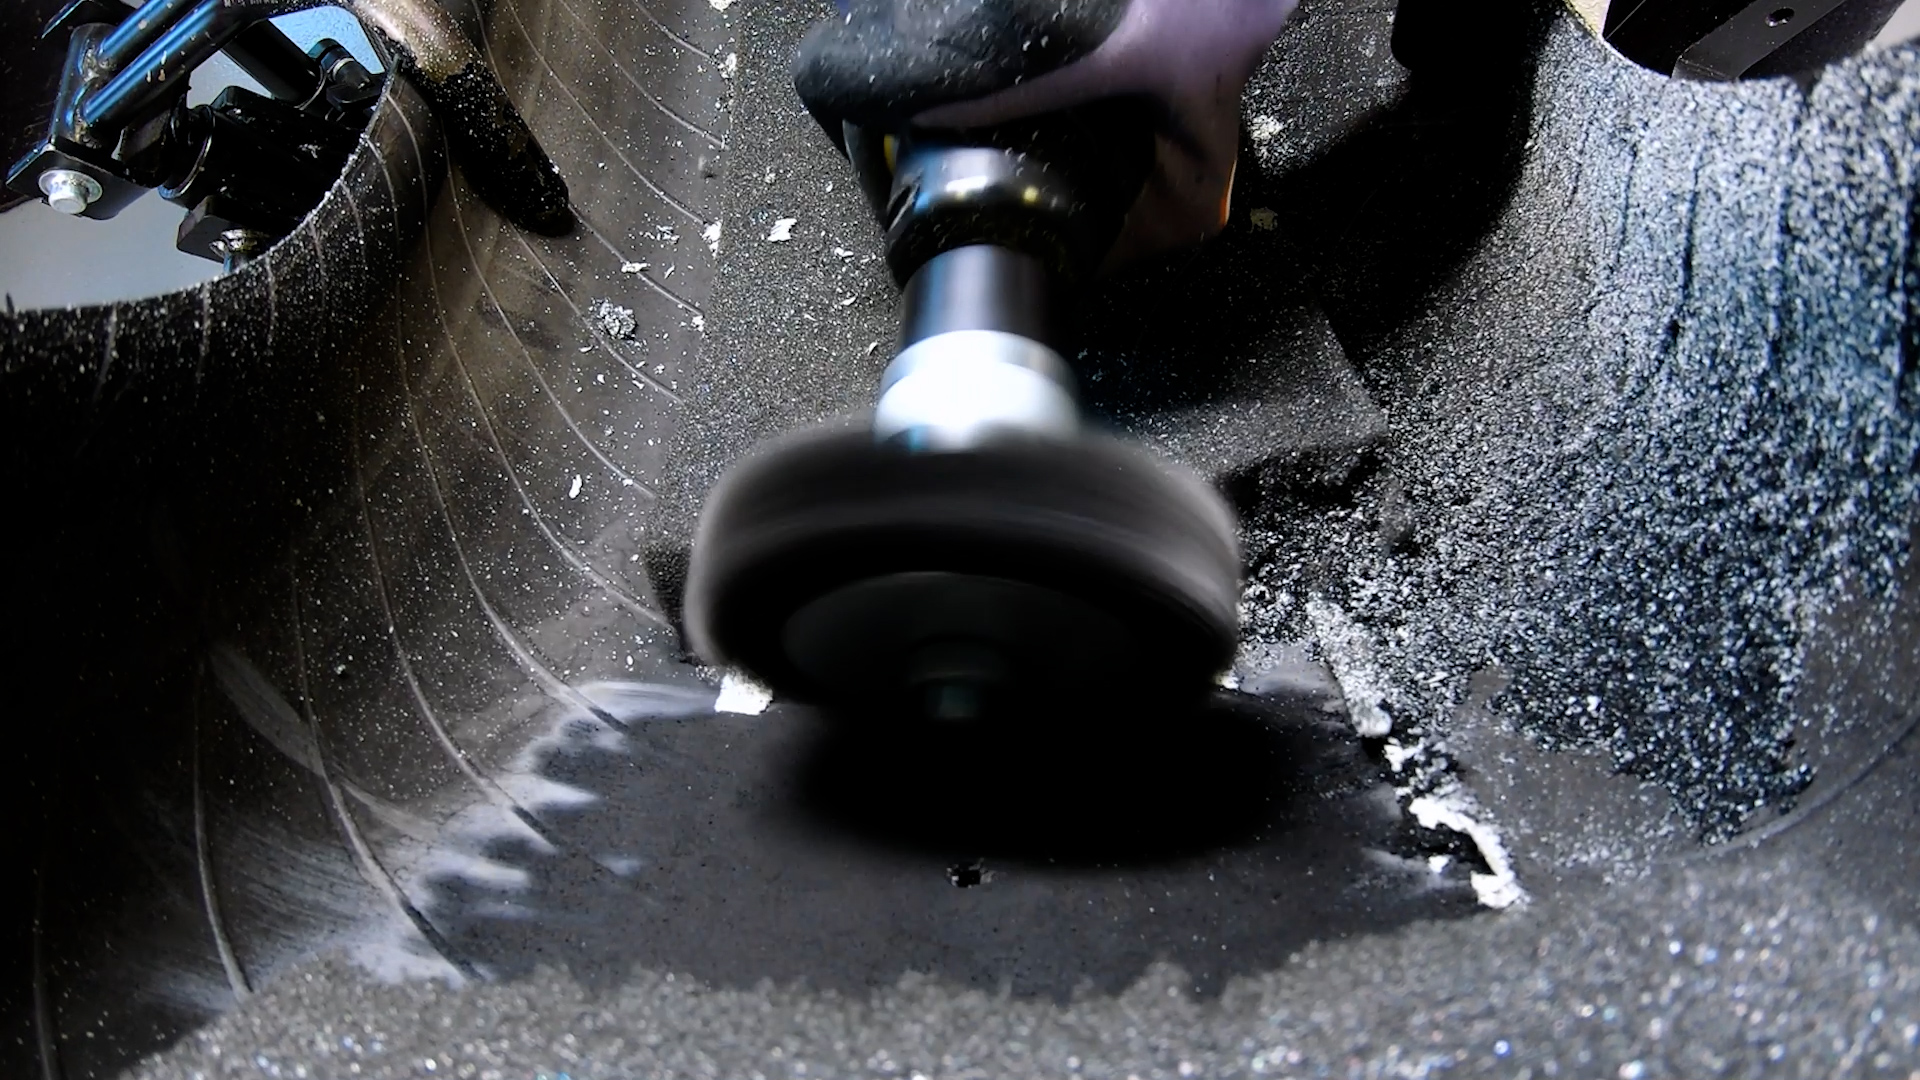
Use a Wire Brush to Clean Debris
Apply vulcanizing fluid:
Vulcanizing fluid (a.k.a. cement) chemically bonds TECH tire repairs to the tire for a safe and permanent fix. To begin, work the cement into the channel using a spiral cement tool. Repeat 3-5 times from both the inside and outside of the tire.
Next, using the lid-mounted brush, apply a thin layer of cement to the buffed area. Allow 3-5 minutes to allow the vulcanizing fluid to dry. You are now ready to install the repair.
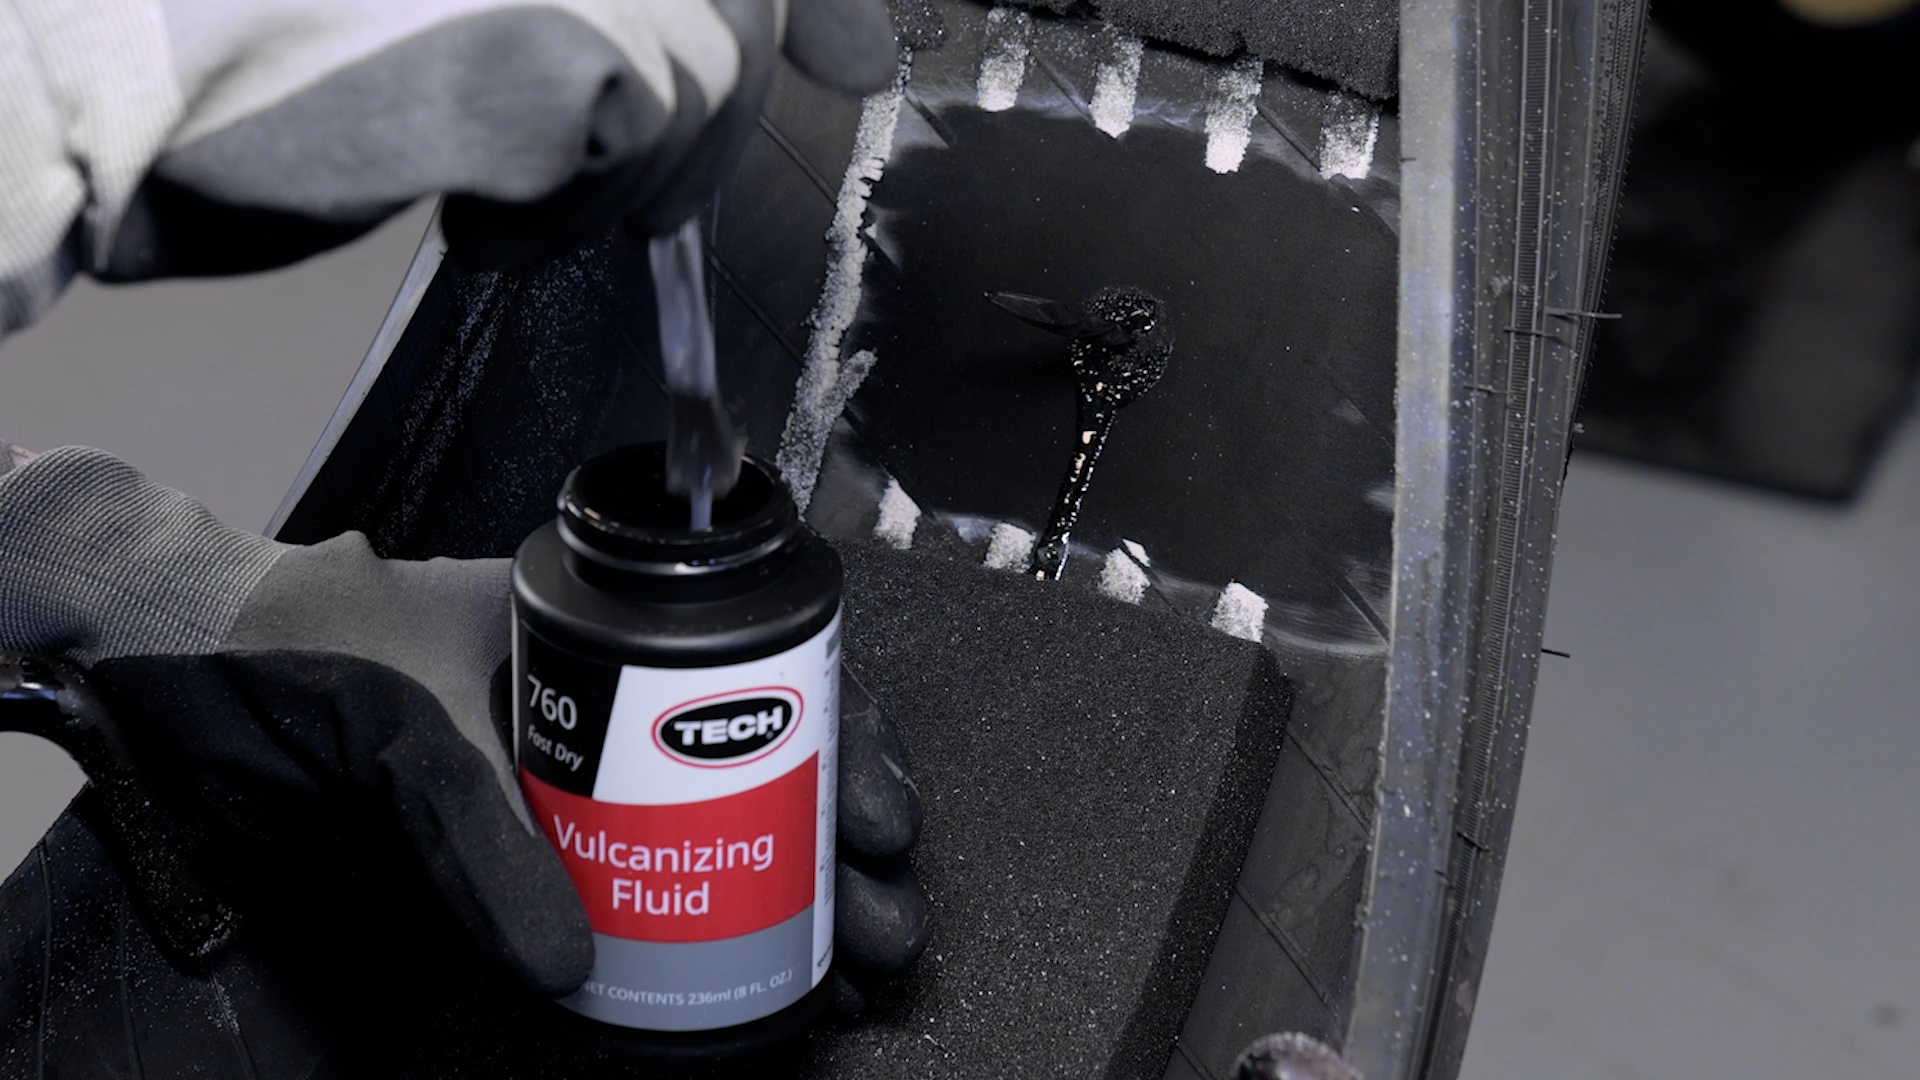
Apply a Thin Layer of Cement
Install the repair:
Prepare your repair for installation by removing the blue poly to expose the cushion gum. Avoid touching the cushion gum. Carefully apply vulcanizing fluid to the tapered portion of the stem to help lubricate the repair and make installation easier.
Next, place the repair in the injury and pull it through by the lead wire using a pair of pliers. Pull until the repair seats against the inner liner. Avoid overpulling which could cause “dimpling” and possibly damage the stem.
Then, use a tire repair stitcher to stitch the repair in place by removing any air trapped under the repair. Work from the inside out to ensure all air is removed.
Lastly, seal the over-buffed area using an inner liner sealer. This will restore the inner liners’ air retention properties that may have been compromised during the buffing process. If you plan to re-install the sound-suppression foam. Simply apply the sealer to the entire area where the foam was removed and firmly press the foam back into place (optional).
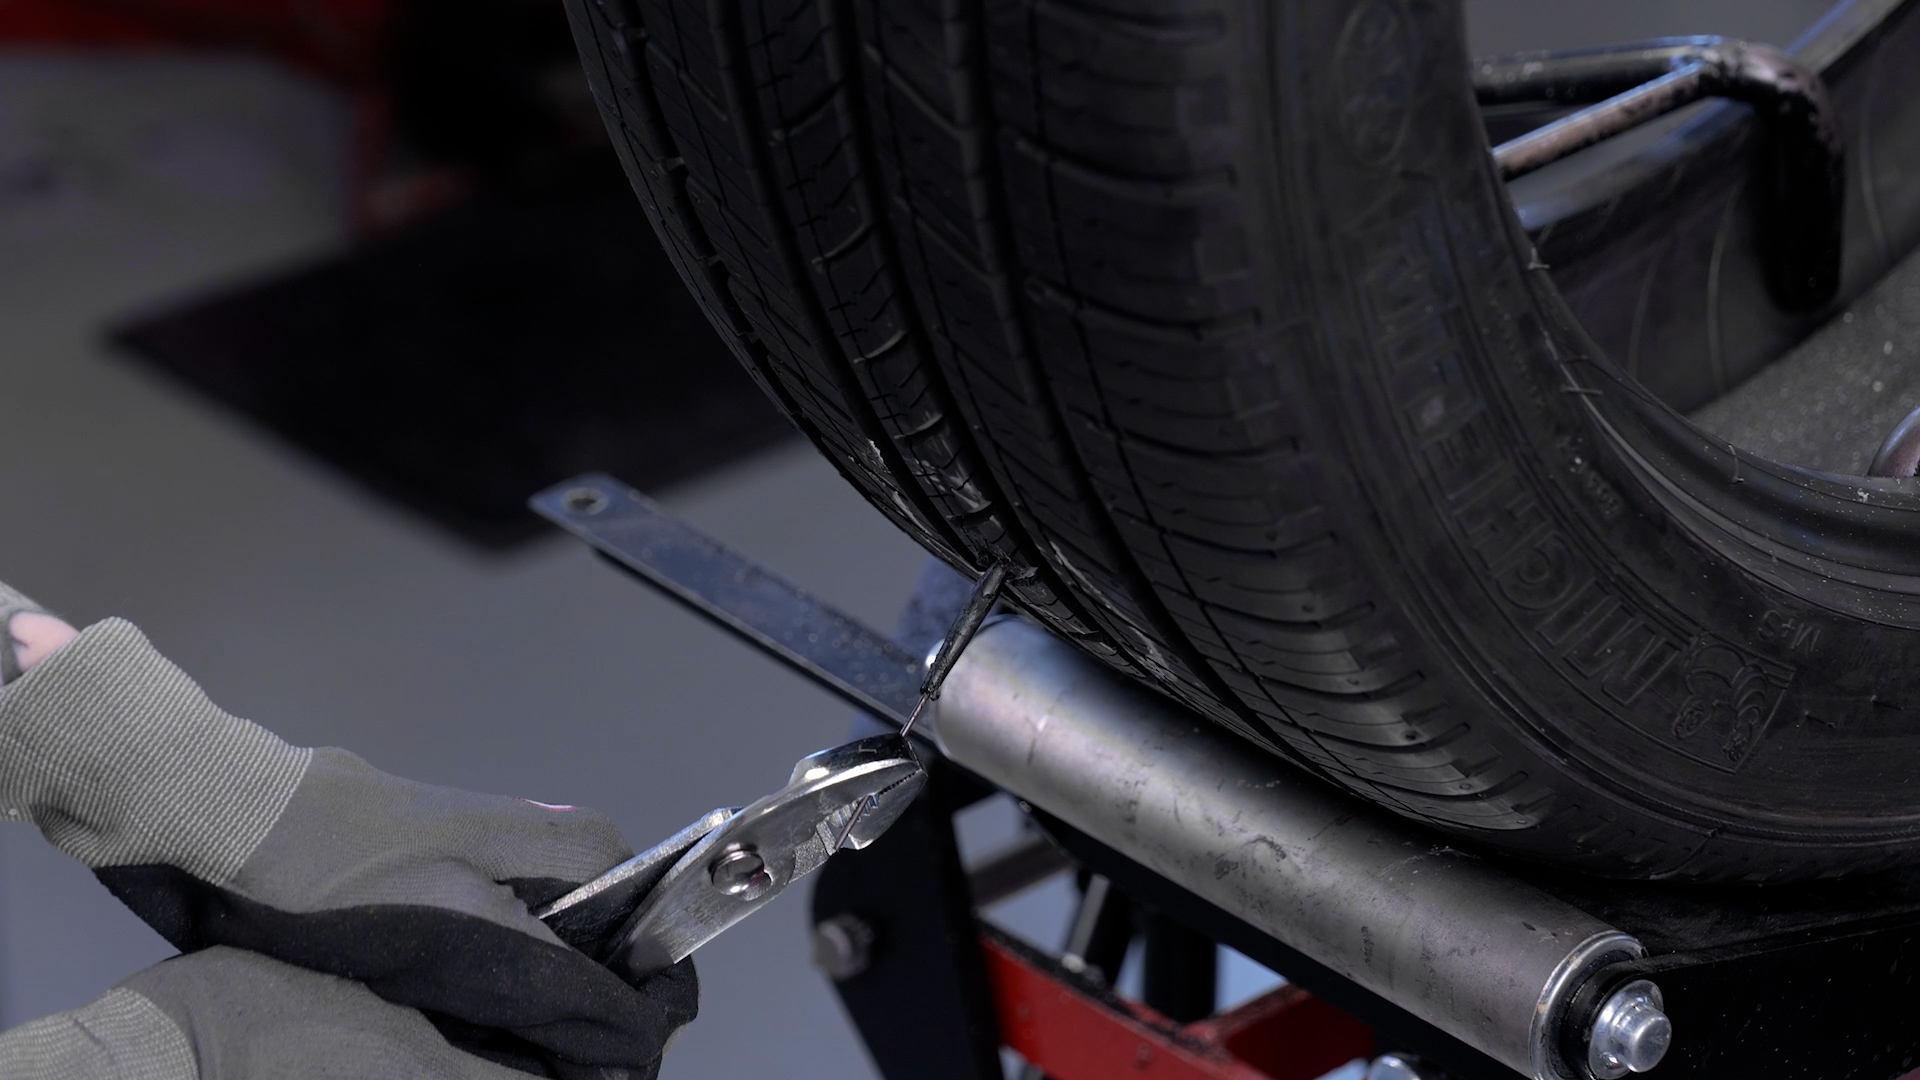
Use the Lead Wire to Pull the Repair Through
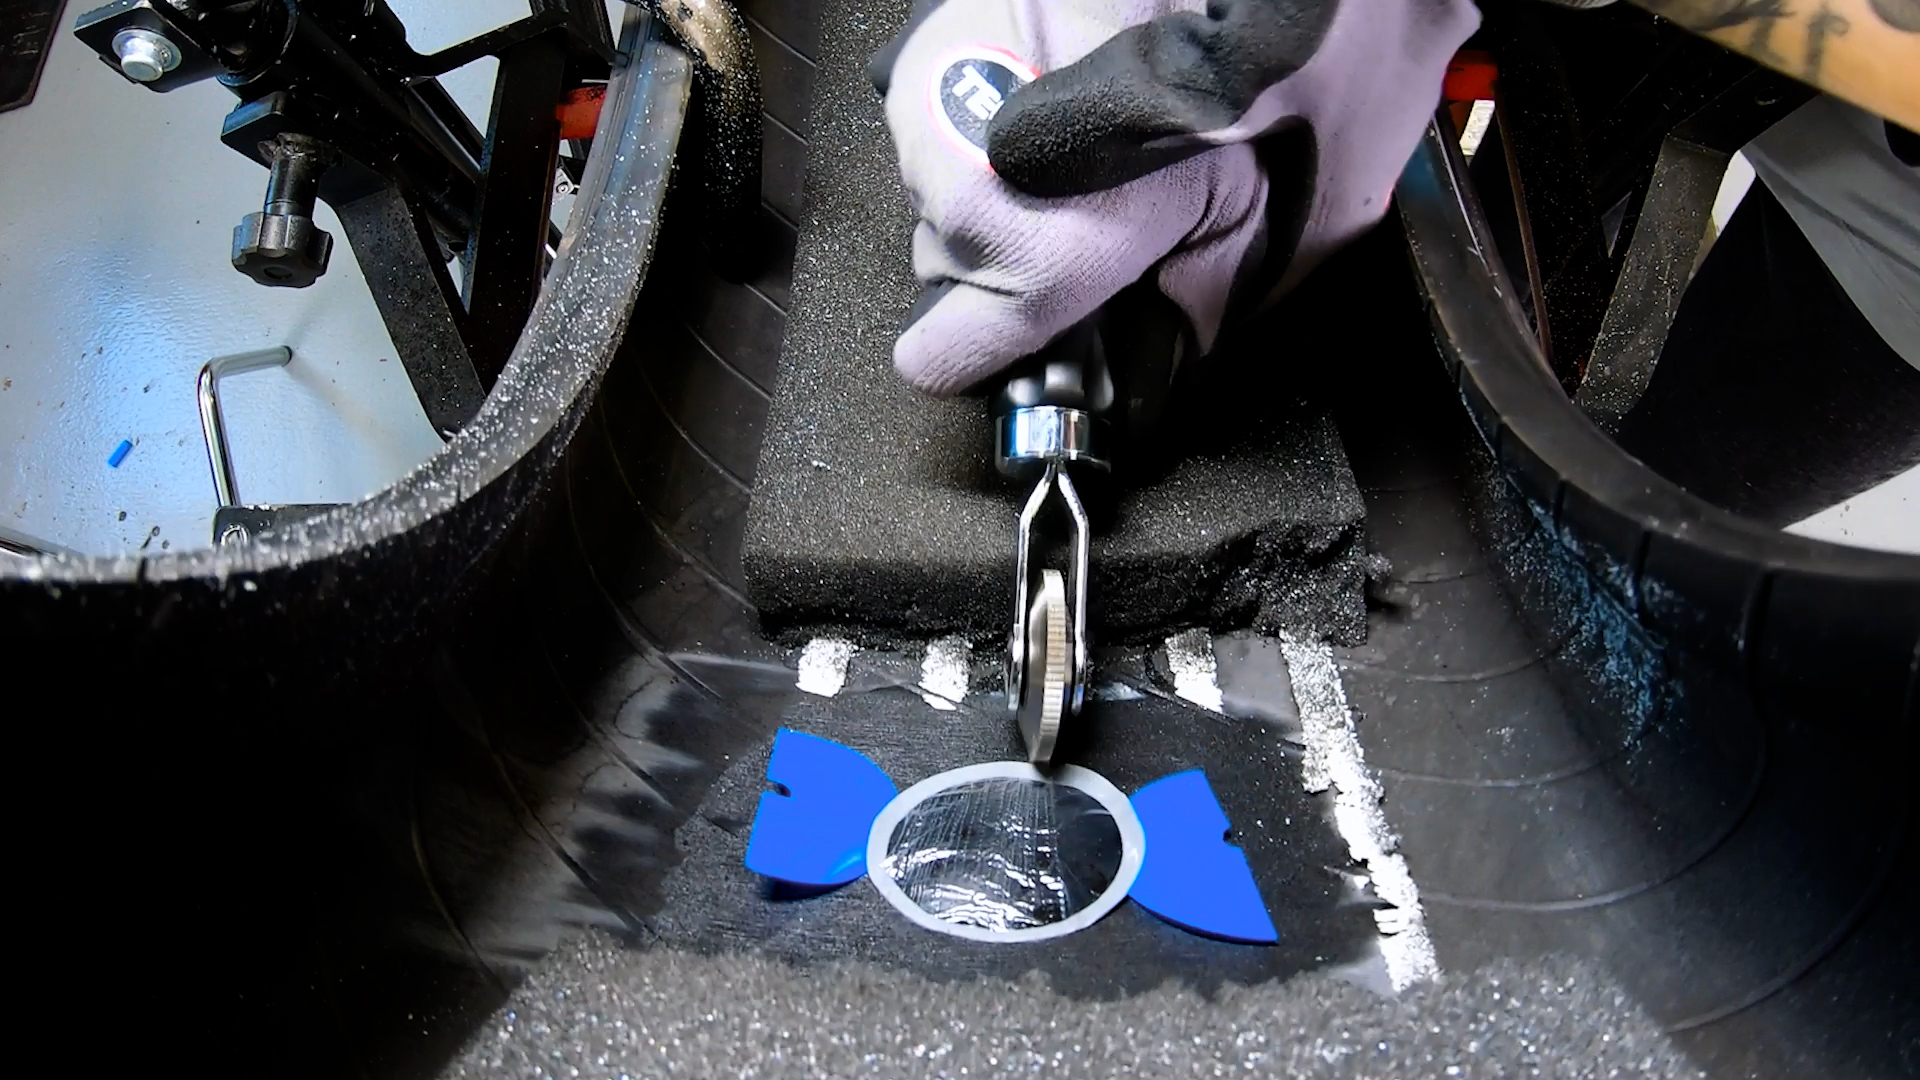
Stitch the Repair to Remove Any Trapped Air
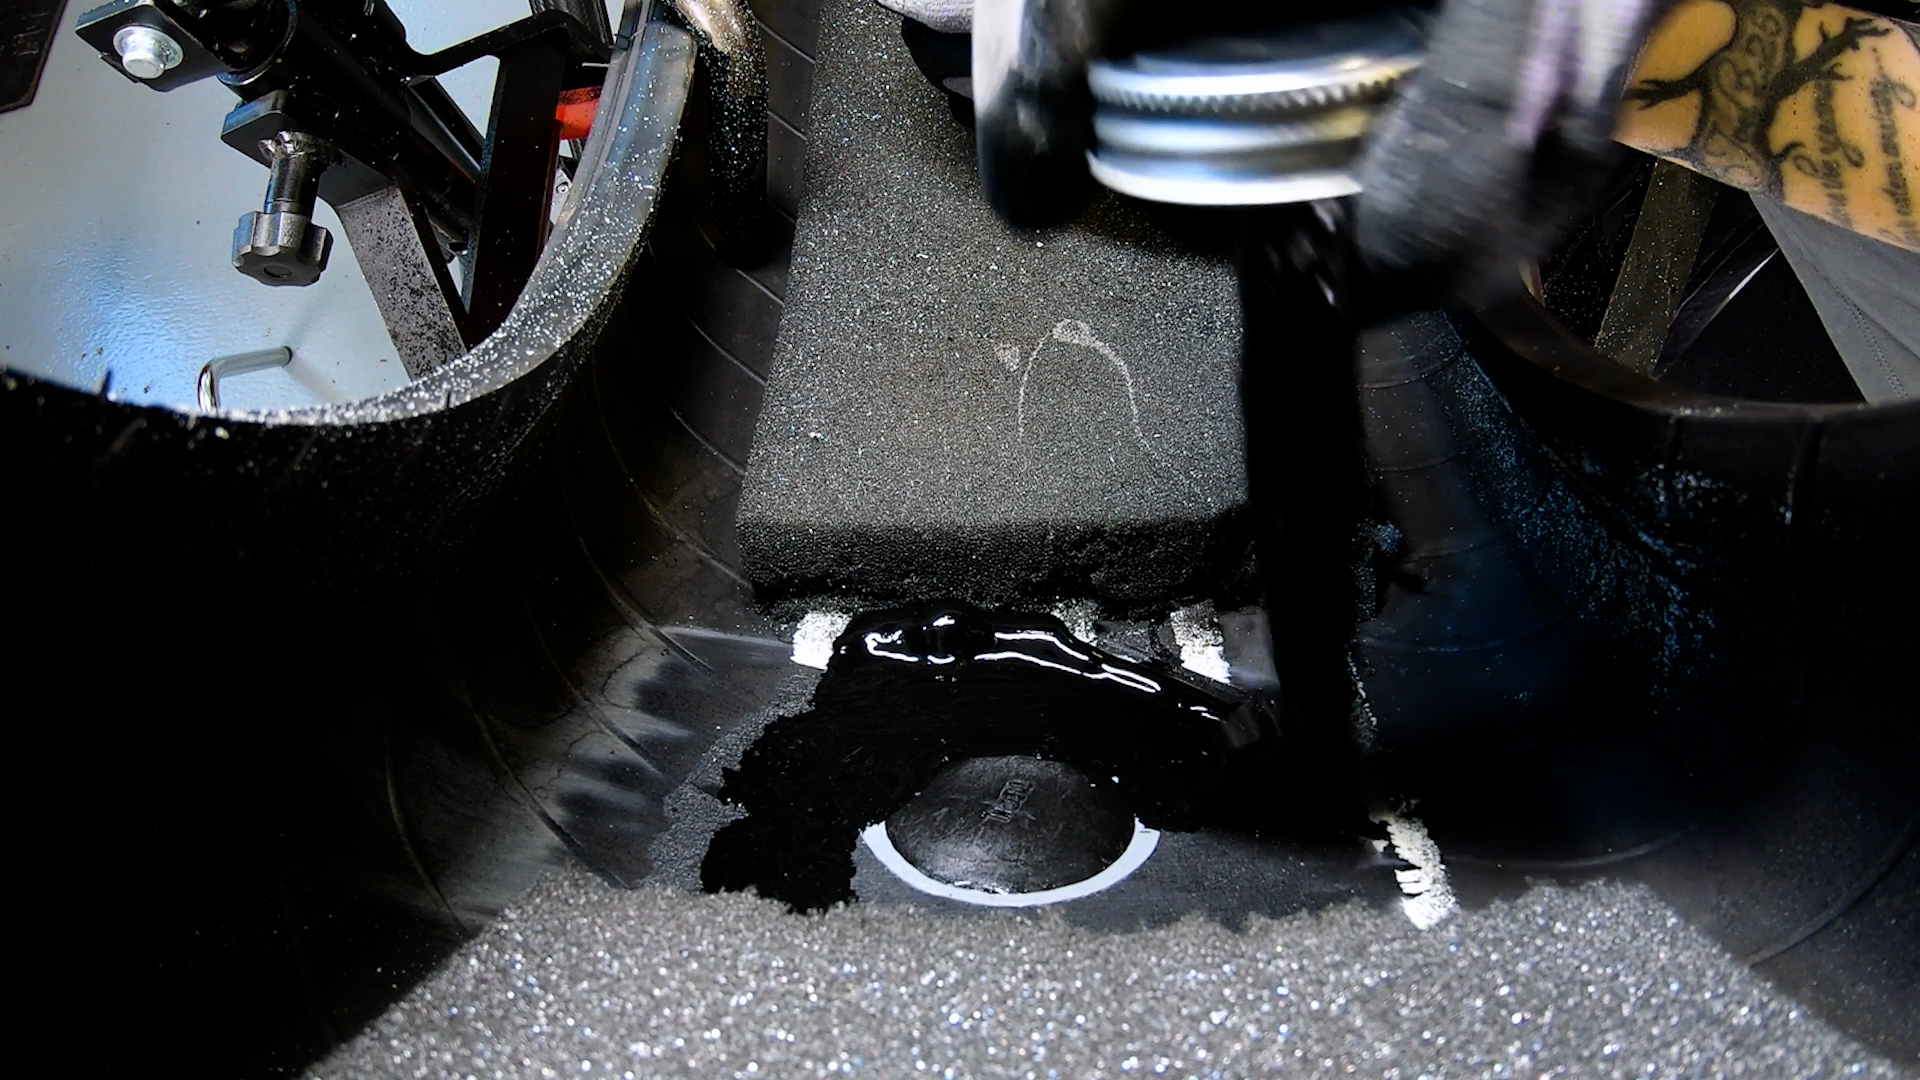
Seal the Over Buffed Area
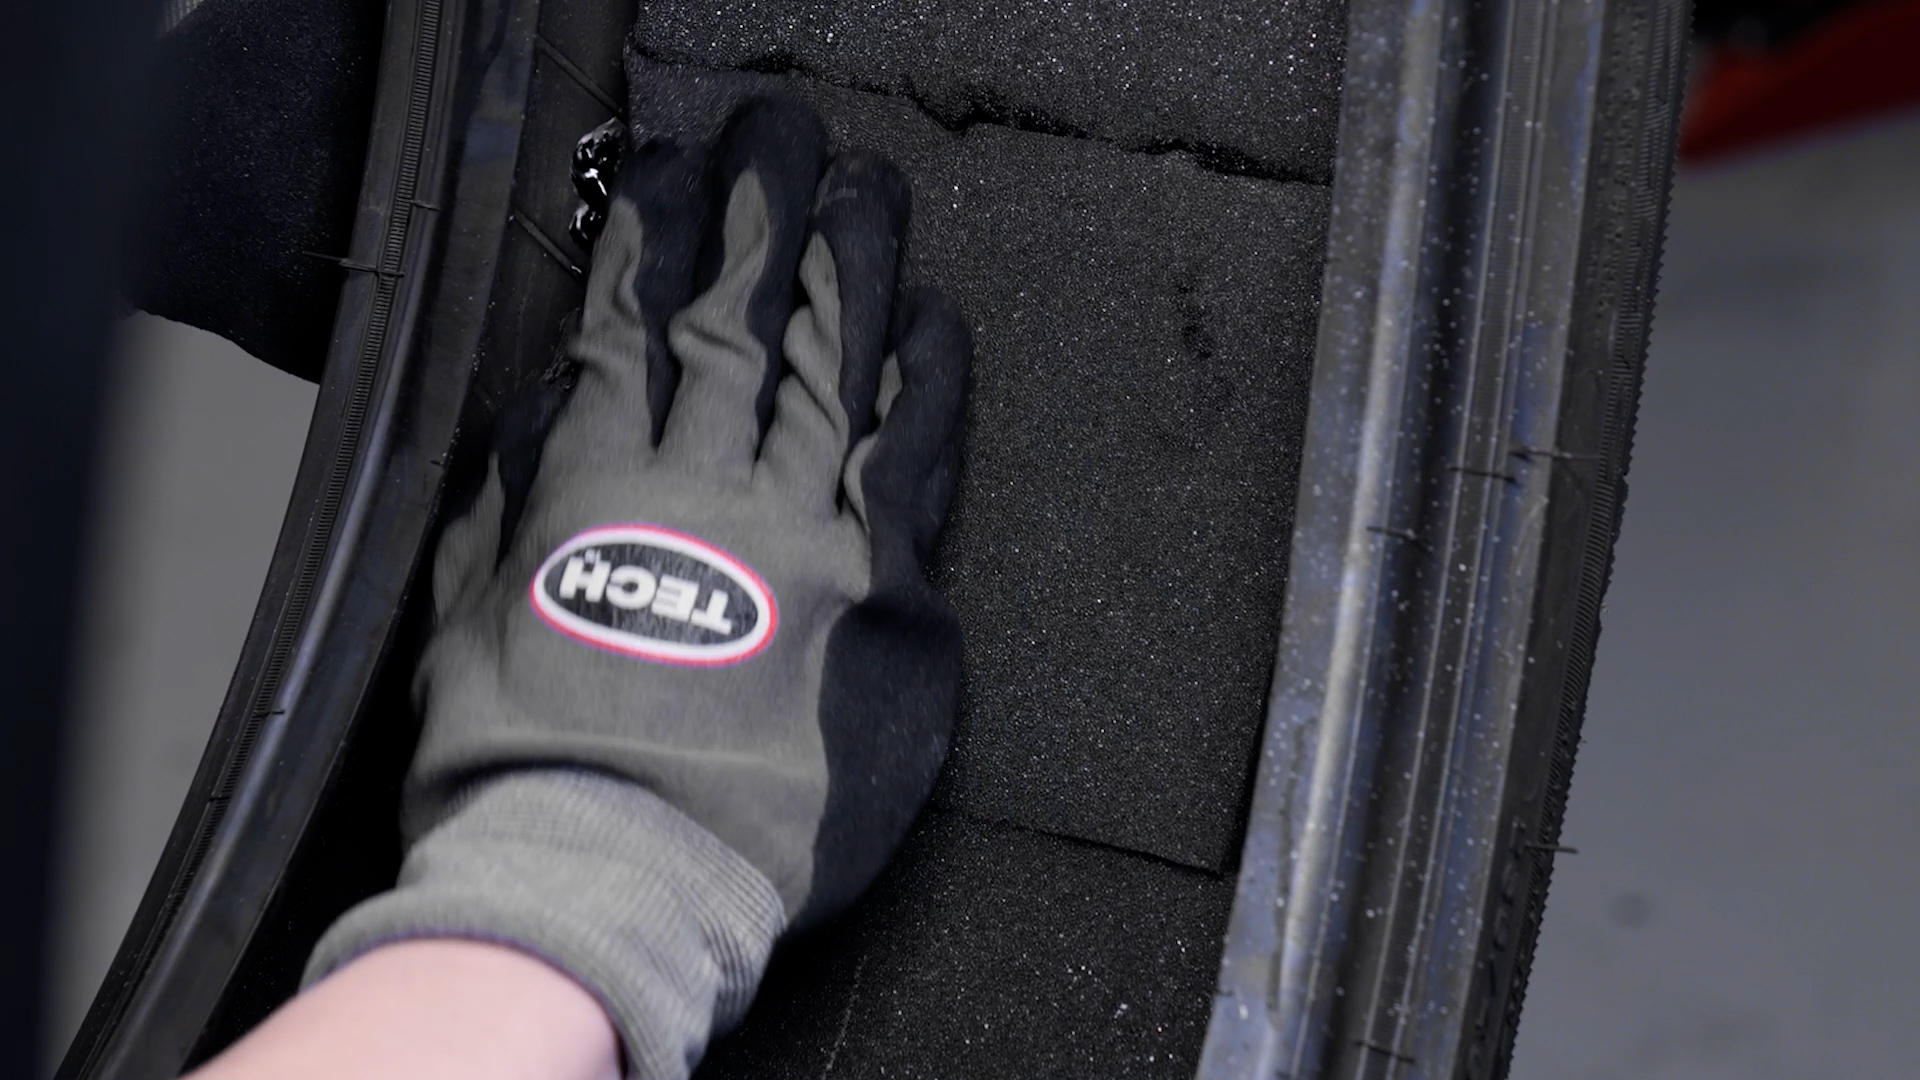
Replace the Foam (Optional)
Return the tire to service:
With the repair permanently installed, you are now ready to return the tire to service. This involves re-mounting and balancing the tire, installing the wheel and tire back on the vehicle and perform any necessary TPMS relearn procedures.
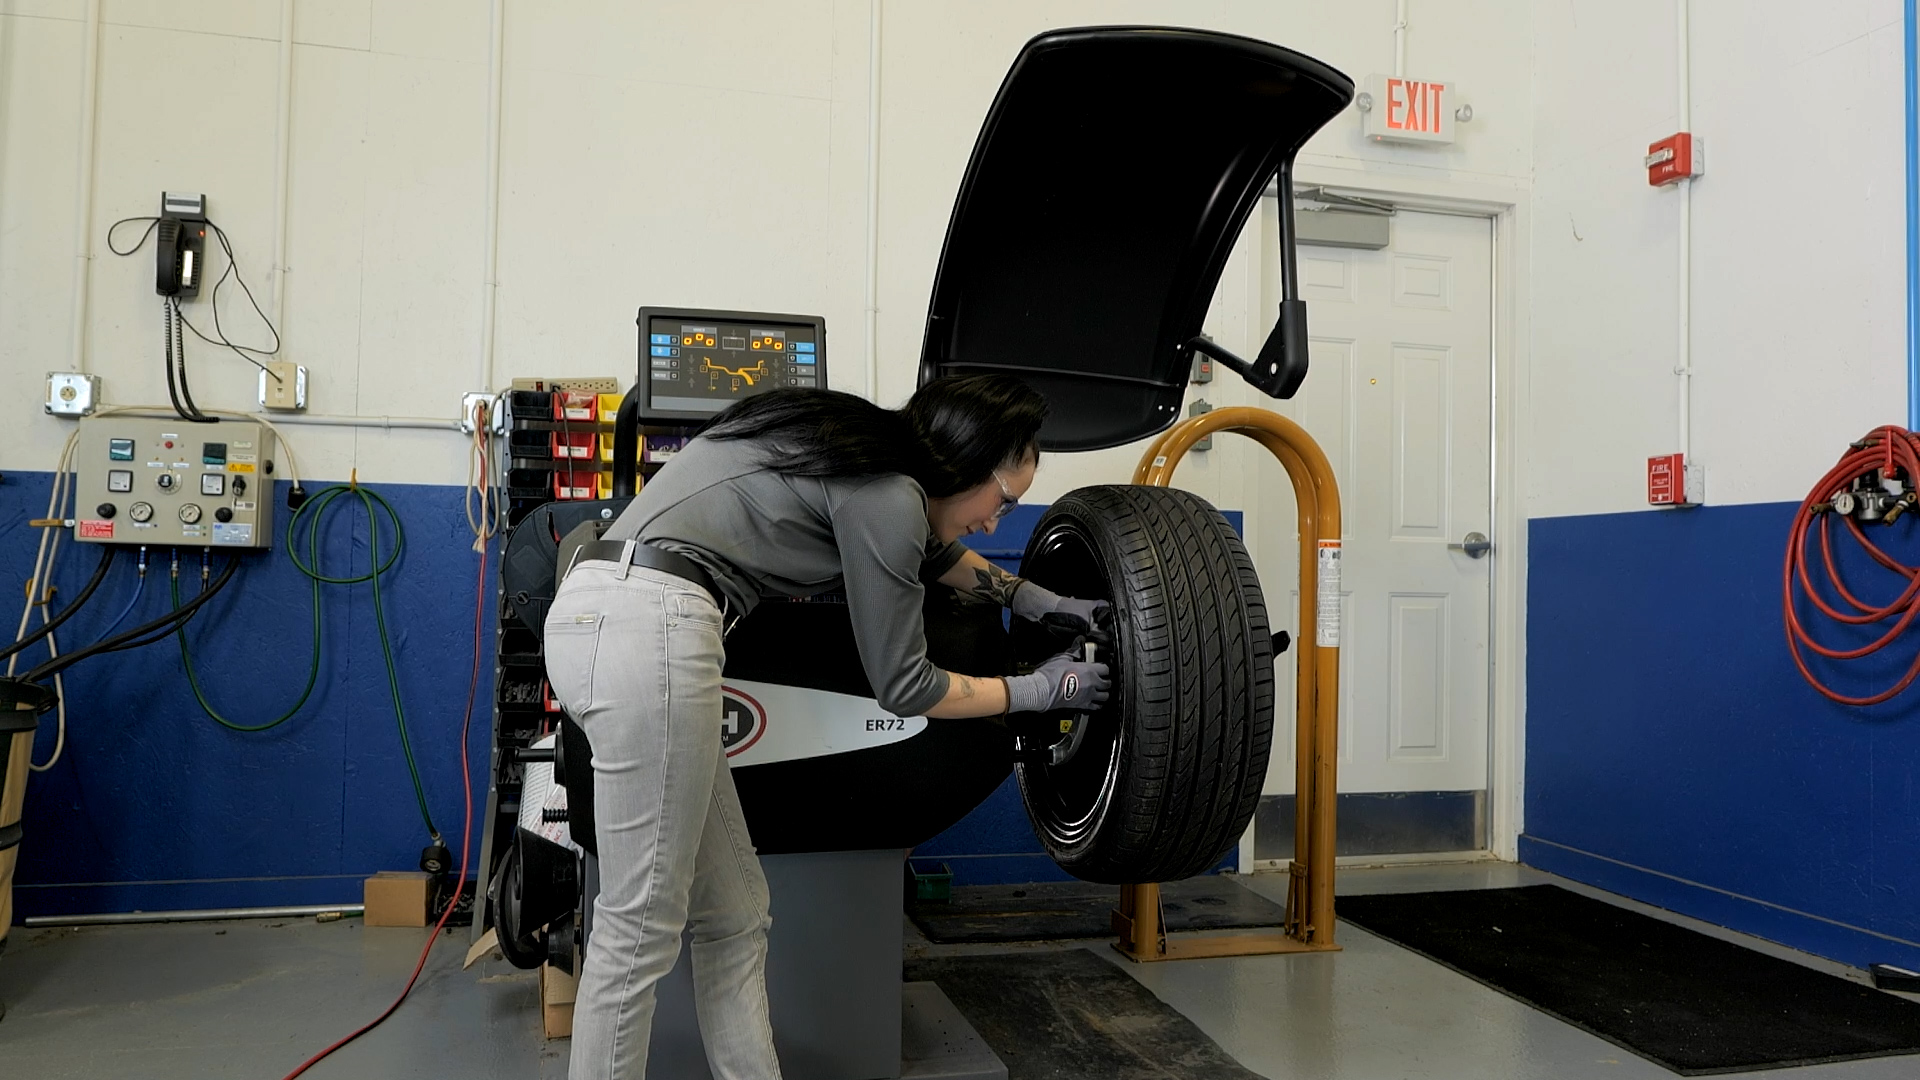
Re-mount and Balance the Tire
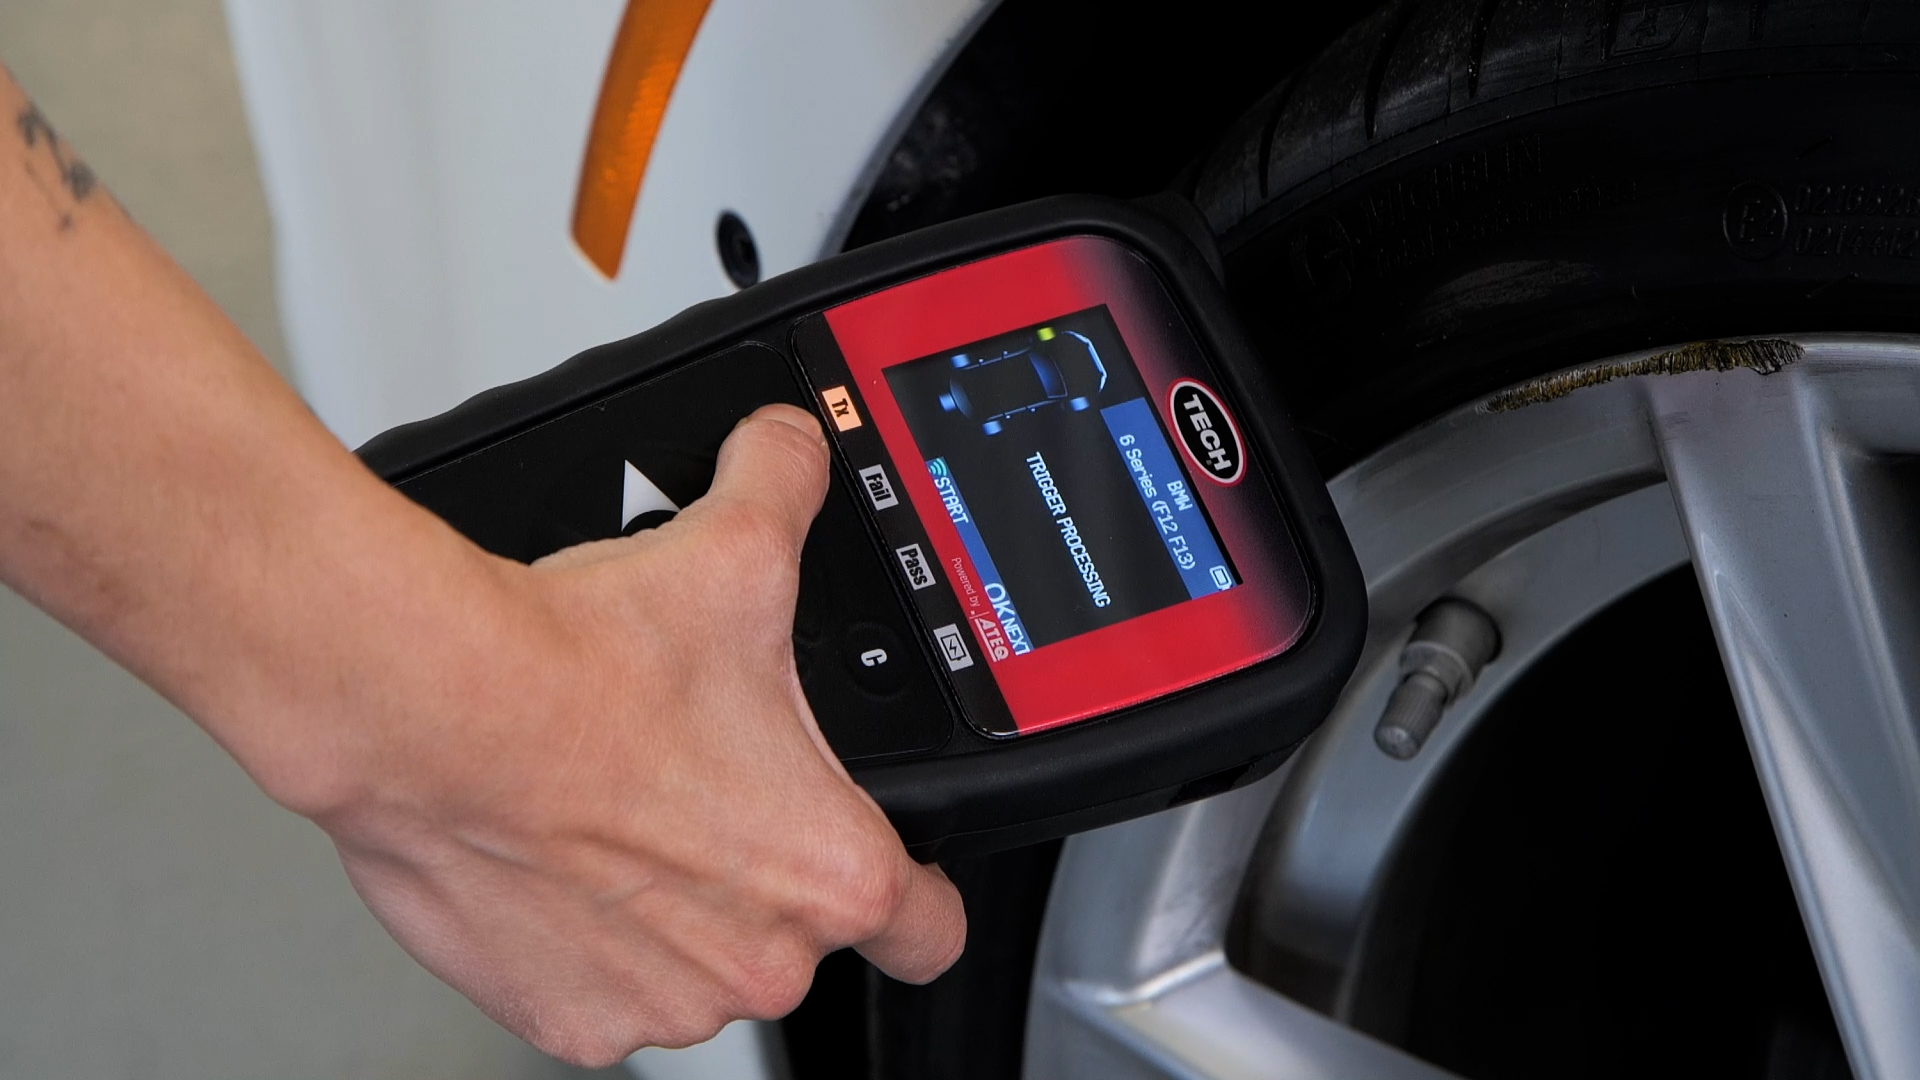
Perform any Necessary TPMS Re-Learn Procedures
Conclusion:
Thank you for watching. For more tire repair content, follow TECH on your favorite social media network.


Recent Comments